Recently I was helping a friend out by watching her kid for a few hours. I was trying to come up with something fun for both my daughter and him to do and that I could do while babywearing my 8 month old baby.
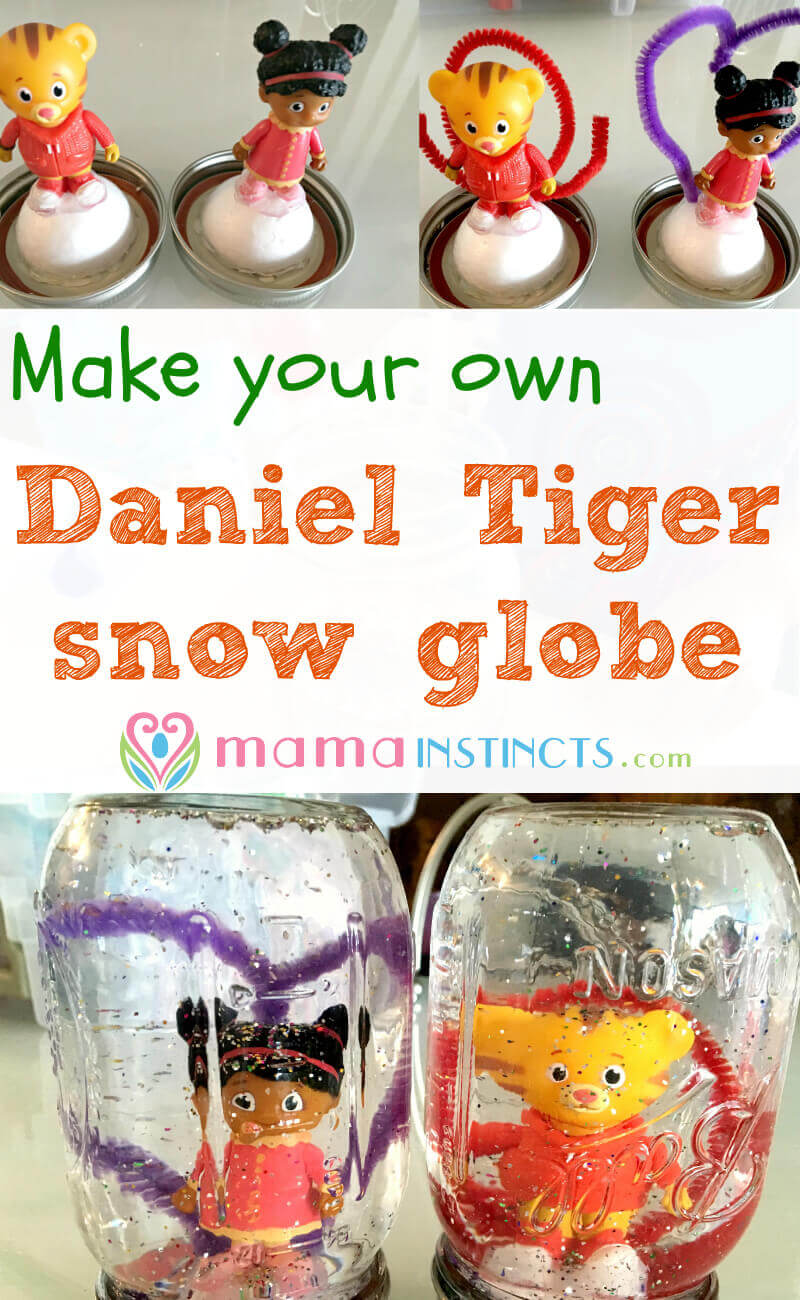
My 3 year old has some Daniel Tiger figurines and it occurred to me we could make Daniel Tiger snow globes since they’re big fans of the show.
The kids had so much fun making this craft! Their snow globes are now a great toy and cute decoration in their rooms. What I loved the most about this craft is that they were able to personalize it and the kids did most of it. I only stepped in to use the hot glue gun.
It’s even an easy enough activity to do with many kids at once and would make a great party favor/activity. I’m actually thinking of setting up a snow globe Daniel Tiger station for Jelly’s (my second baby) first birthday.
So let’s get down to it…
Supplies:
- Glass jars: I wanted to use a glass jars with a smooth surface (left over from salsa sauce) but I didn’t have one so I used mason jars. I’m now glad I did because the kids have dropped the snow globes several times and they are still in one piece.
- Daniel Tiger figurines
- 1/2 bottle of Elmer’s clear glue: you will need this to make a water glue mixture that will make the glitter and confetti fall slower. If you don’t have glue you can just use water but keep in mind it will fall to the bottom fast.
- Glitter
- Snowflake foil confetti (or try these other shapes)
- Pipe cleaners
- Glue gun
- Warm water
- Styrofoam ball: this is optional but I used it to raise the figurine so it would be more visible
Instructions:
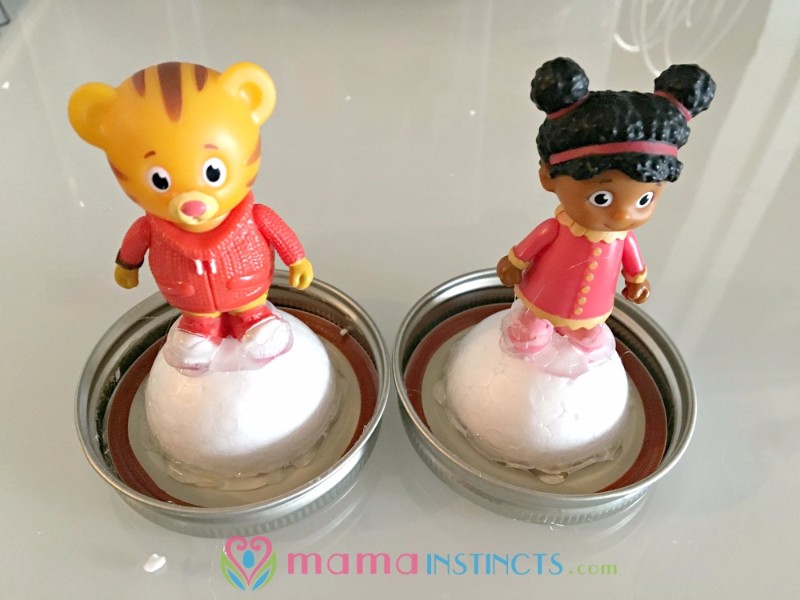
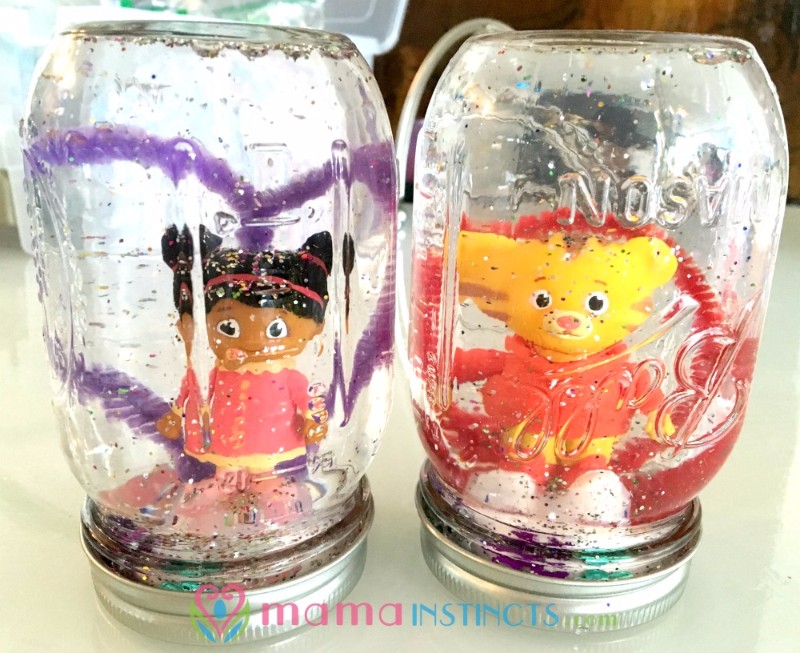
If you’re using the styrofoam ball to raise the figurine, the first thing you’ll have to do is cut the ball in half. Use the glue gun to glue half of the ball on the inside part of the lid.
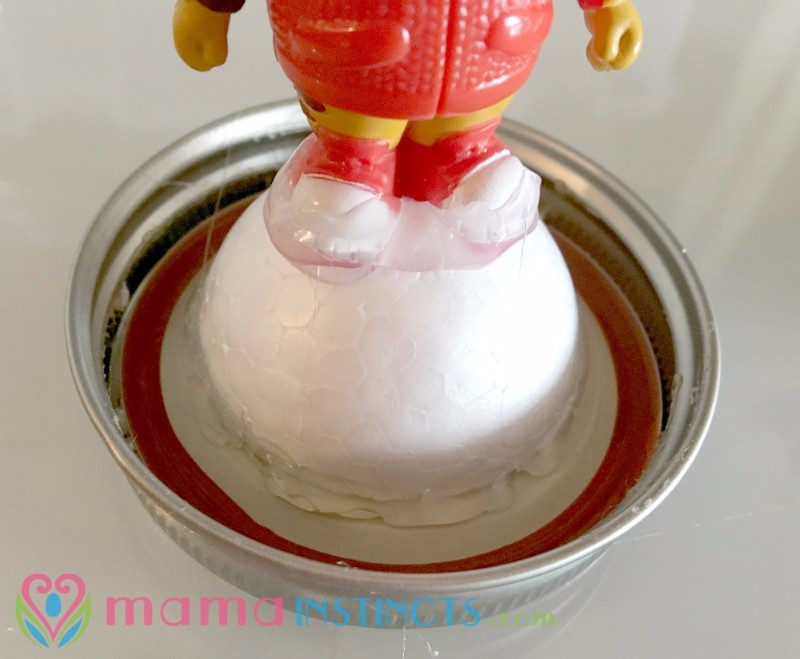
Next, glue the figurine on top of the styrofoam ball. I put glue on the bottom of the feet. Once it was glued to the styrofoam ball I made sure to add more glue around the feet since it has to withstand a lot of shaking.
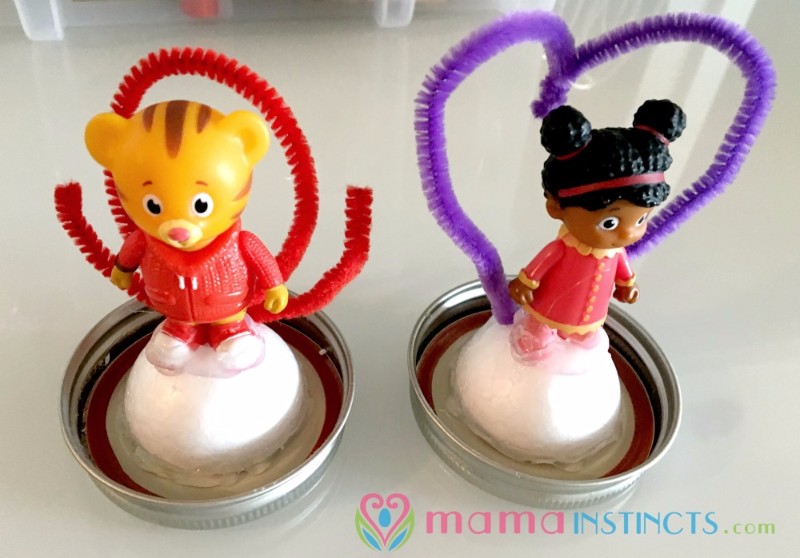
The kids wanted to use pipe cleaners to create a background decoration. I helped them make the shapes they requested and glued those behind the figurines.
Then I mixed the clear glue in warm water. I filled up half the mason jar with warm water and added half bottle of clear glue to it. Make sure you mix it with a spoon for a few seconds. This mixture is what’s going to make the glitter drop slower.
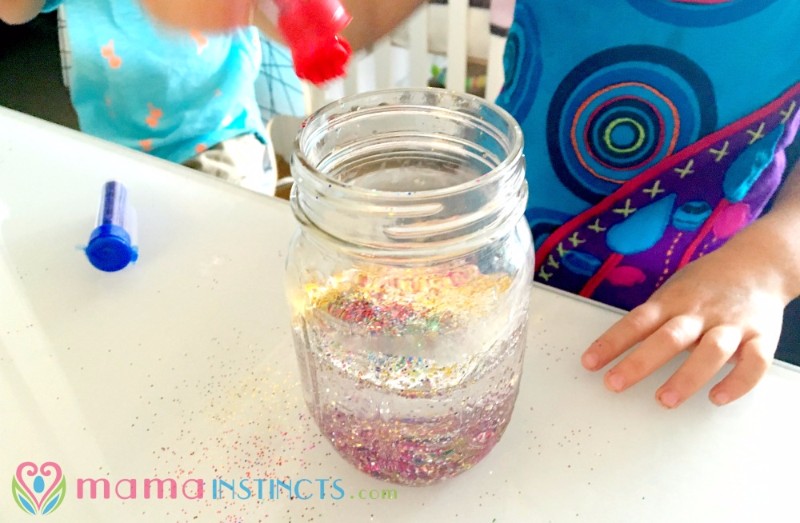
Then I took out the glitter and foil confetti we had and told the kids to add whatever they wanted to the water glue mixture. They went all out and added a lot of glitter. A lot.
Once they were done adding all the sparkly things I added more water to the mason jars – until it was almost filled to the top. Then I screw the lid on (with the figurine glued to it) and it was ready!
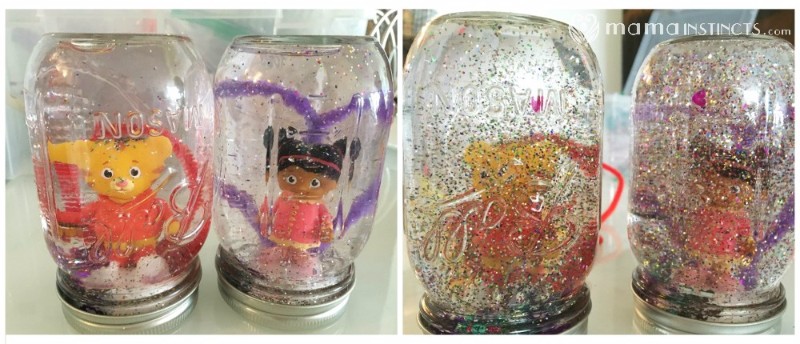
I don’t think I’ve ever seen two kids so excited about something. They played with the snow globes all day and keep showing each other how the glitter was dropping. We have been playing with these snow globes for about 3 weeks and they are still holding up great.
If you have a very curious kid you might want to use the glue gun to glue the lid of the mason jar so they can’t open it.
For parties:
If you’re thinking of making these snow globes at a birthday party I would glue the figurines on the lids ahead of time so the kids only have to pick the decorations and glitter they want in the water.
Also, I would prepare the water glue mix ahead of time: 1 bottle of clear blue makes 2 snow globes (when using 16 oz mason jars). You can also skip making this water glue mixture and just use regular water, the only difference will be that the glitter will fall faster.
Daniel Tiger Snow Globe Craft Creation
Hope you love it and if you make this craft tag me on instagram (@mamainstincts) so I can see what your kids came up with!
Leave a Reply