Fall is one of my favorite seasons. The weather is perfect – not too hot nor too cold and there are pumpkins everywhere. One of our favorite activities is to do crafts with pumpkins, especially the little ones, because they are so easy to work with and kids love them.
This craft is so easy to make that any kid can make it, although I would recommend to make it with kids that are 2 and up because it can get messy. If you’re going to make this with a younger kid they might need a little help at the end.
I like to make crafts where my kid doesn’t really need my help and can get creative so the pictures you’re about to see are of how the craft turned out made by my 3 year old.
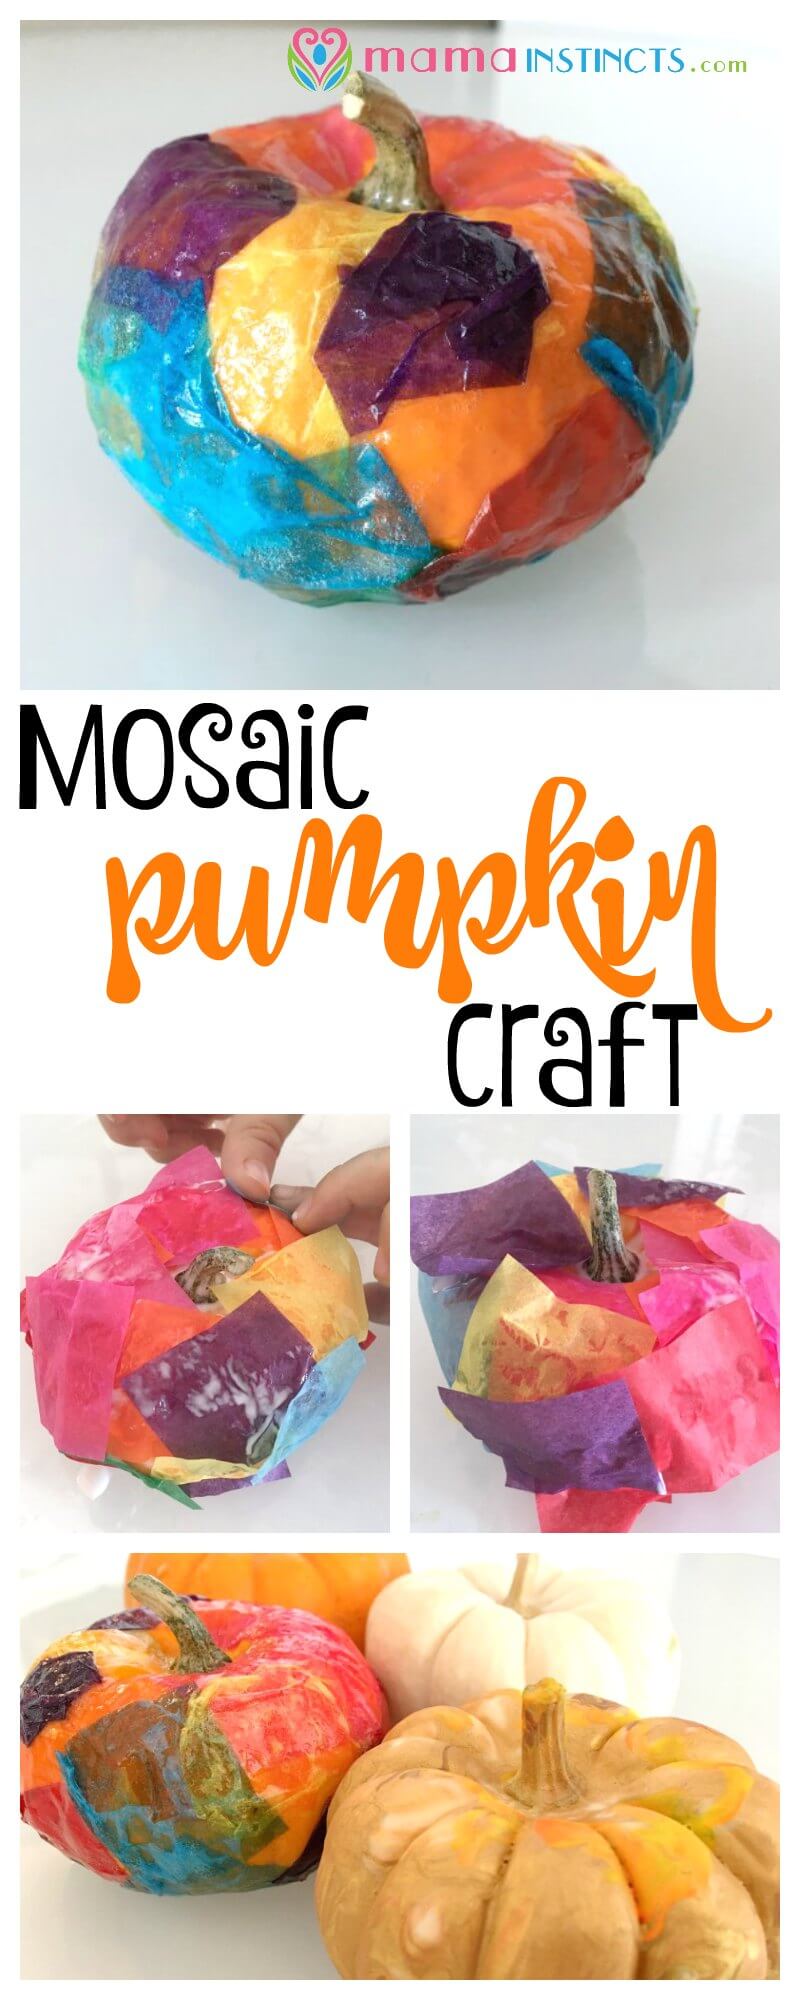
Mosaic pumpkin craft
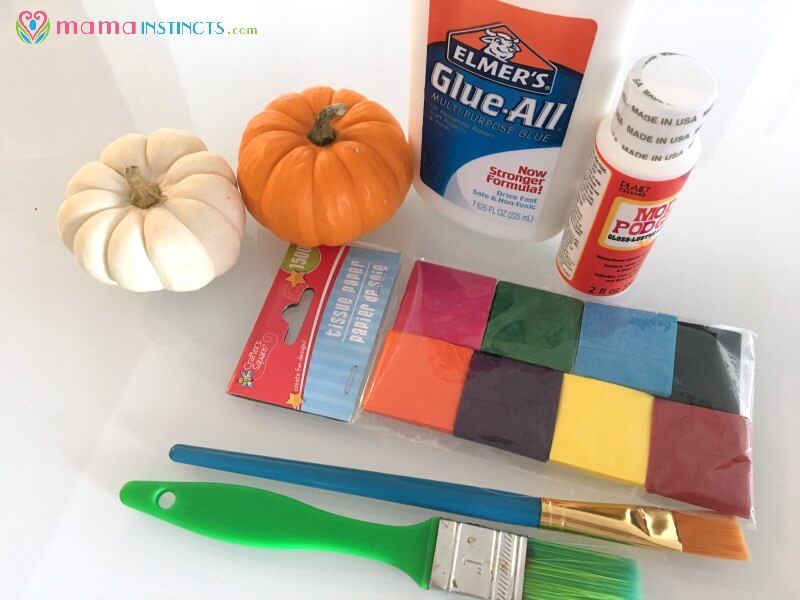
Materials:
- Tiny pumpkin (you can find them at most grocery stores)
- Tissue paper squares
- Glue
- Pod Modge
- Paintbrush
Instructions:
We have a glass table to make crafts since it cleans up well but if you’re doing this on a wood surface make sure you do this craft on a plate or placemat since it can get messy with the glue.
If you’re using big pieces of tissue paper, cut them in little pieces. It doesn’t have to be perfect so you can just have your kid rip the tissue paper into pieces. The more colors you use, the prettier the pumpkin will turn out.
The first thing you have to do is put glue on the pumpkin. You can either put the glue directly on the pumpkin and spread it with the paintbrush or mix it with a little bit of water and use the paintbrush to cover the pumpkin with the water/glue mixture.
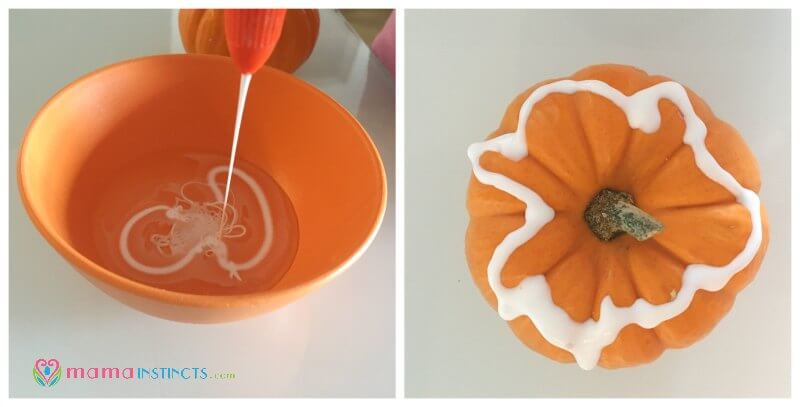
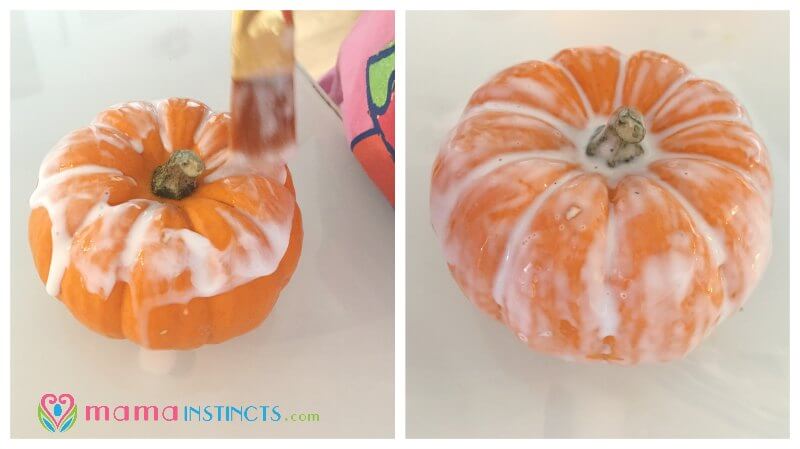
Cover the entire pumpkin with glue and spread it evenly using a paintbrush.
Then let you child get creative and add tissue paper all over the pumpkin. It doesn’t matter if the entire piece of tissue is not glued to the pumpkin as long as some part of it is glued.
You can layer or overlap the tissue paper. Use the paintbrush to add more glue on top of some of the tissue paper to make sure all pieces stick.
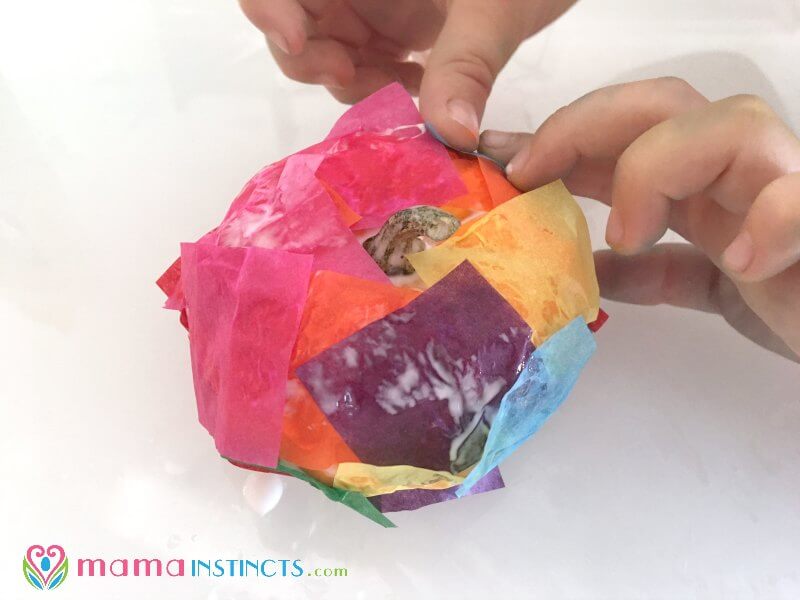
I don’t intervene during this stage and just tell my kid to cover the entire pumpkin with tissue paper.
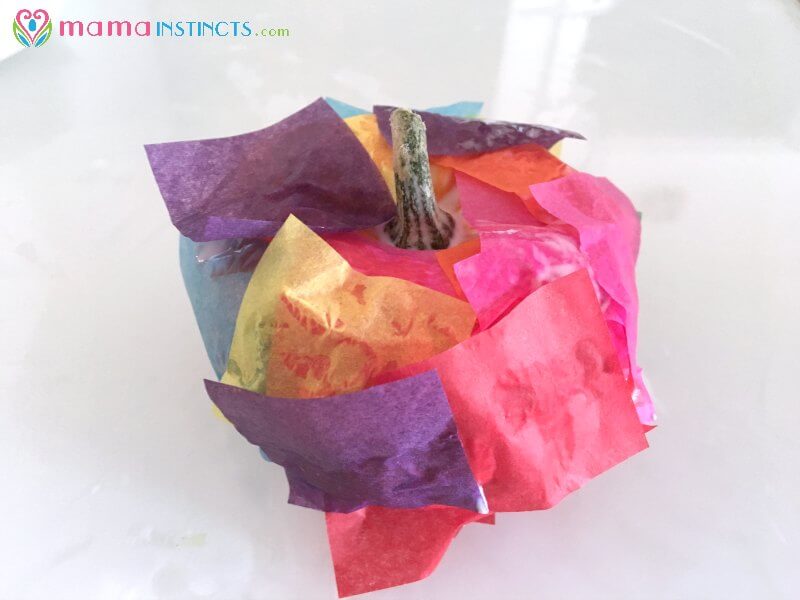
Make sure they flip the pumpkin over so you can they can add tissue paper to the bottom too.
The entire pumpkin should be covered in tissue paper. It might look a little messy but don’t worry.
Once your kid is happy with all the different colors it’s time to add the Mod Podge.
Use the paintbrush to spread the Mod Podge all over the pumpkin. If you’re doing this with a smaller kid this is when you’ll have to step in and make sure the Mod Podge is covering the entire pumpkin.
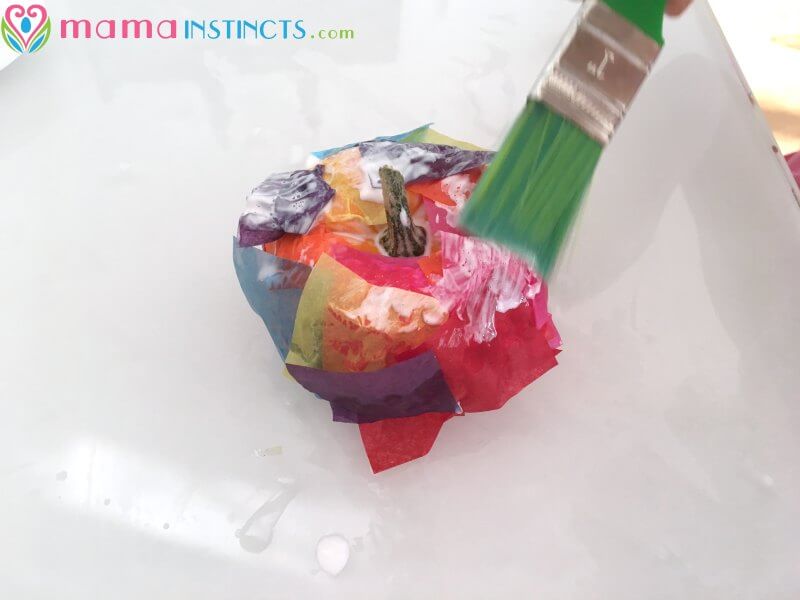
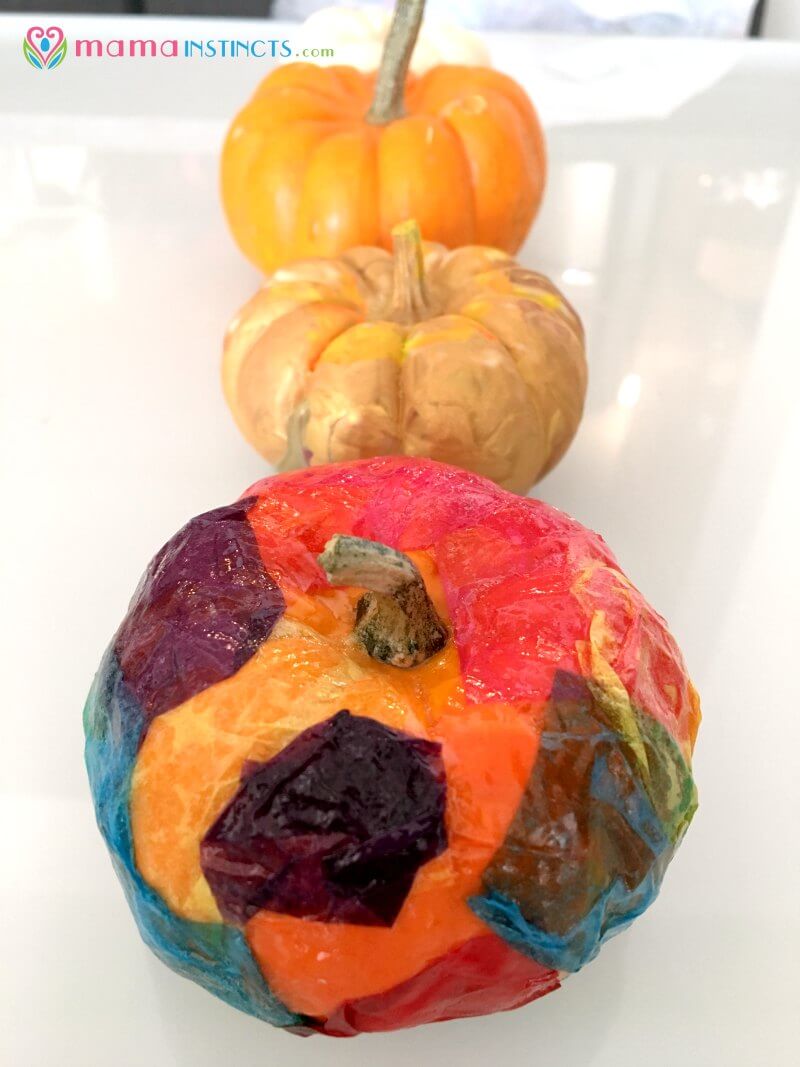
It will look like this:
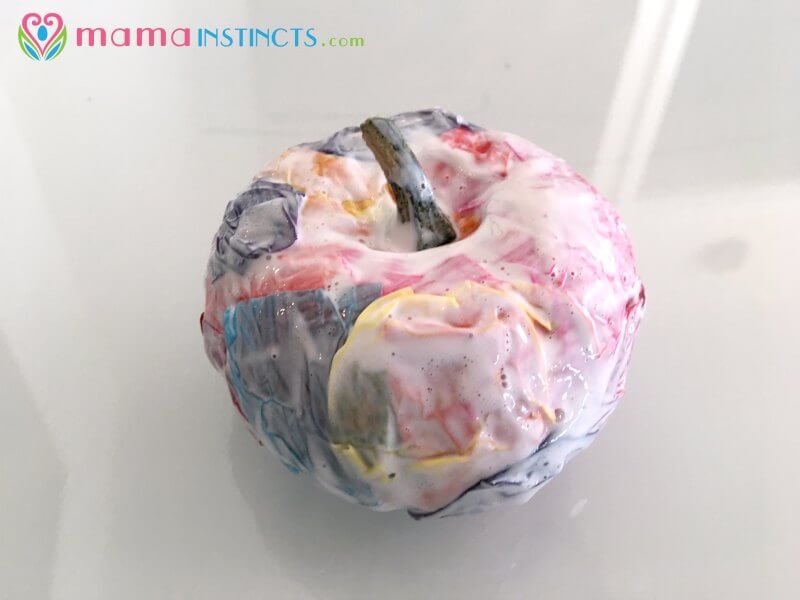
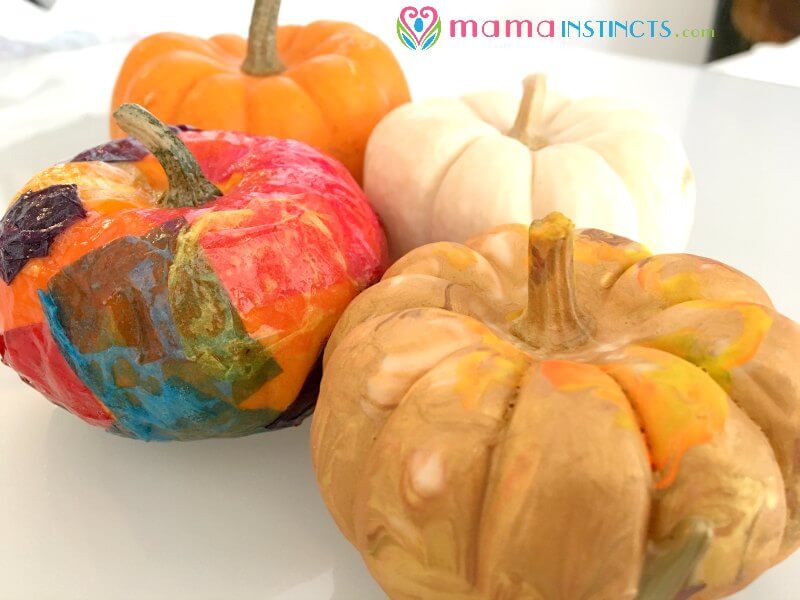
Now set it on a counter and let it dry. It will take about 24 hours and then you’ll end up with this really pretty shiny mosaic pumpkin.

Once it’s dry, let your kid play with it or use it to decorate your home. If you’re using it to decorate it will look really pretty if you make several of these or mix them up with regular pumpkins and painted pumpkins.
That’s it! I hope you enjoy this easy fall craft.
Mosaic pumpkin craft Creation

Leave a Reply