I have never been a crafty person and the attempts I’ve made previously didn’t come out good…at all. But now that I have a baby I wanted to start making crafts because she will be old enough soon to do these little projects with me. I thought Easter was the perfect time to give it a try. My first project was to make an Easter basket and I’m happy to say I’m satisfied with the result. It was so easy to make that I hope I can inspire other non-crafty moms to become crafty. Update: After making this basket I decided to make an Easter egg and that turned out really good. It was even easier to make. Check it out!
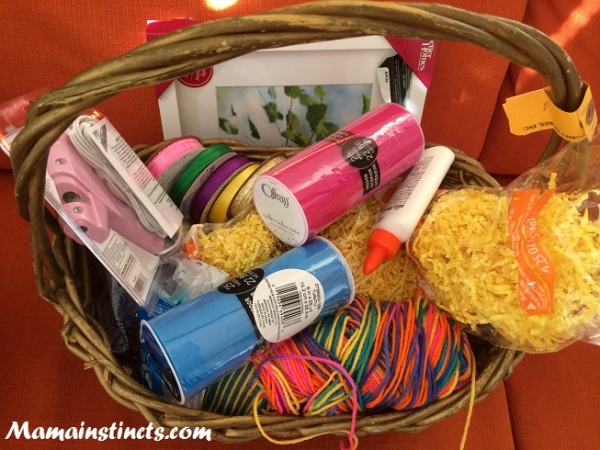
What do you need?
- A basket
- Tulle fabric
- Ribbons
- Scissors
- Easter paper grass
- Glue gun (although this is not a must)
Let me explain a little about each item
Basket: you will need something big enough to fit your gifts. I’m getting my 15 month old an Aquadoodle Classic Mat which means I needed a bigger basket than what I saw in stores. So I went looking for a bigger one at a thrift store and found it for only $7. Score!
Keep in mind that when buying the basket you have to look at the rim around it. There has to be enough space so you can thread the tulle fabric through it.
Tulle fabric: originally I had planned to use 4 colors: fuchsia, turquoise, green and yellow. I was going to get the 25 yard tulle in Amazon, which is $4-5 but I ended up going to walmart and got it there for $3. They didn’t have a good variety on colors so I ended up getting fuchsia and turquoise.
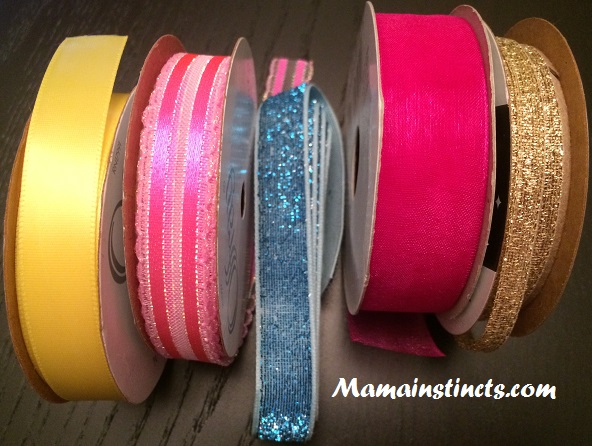
Ribbons: I knew I wanted ribbons to wrap around the handle so I got a yellow one for that with a couple pink and blue ones to decorate it. I also got a sparkly golden ribbon to accentuate the tulle wrap. I got all of these at Walmart.
**The amount of tulle and ribbons is up to you. Whatever you chose will look pretty. 🙂
How to make it
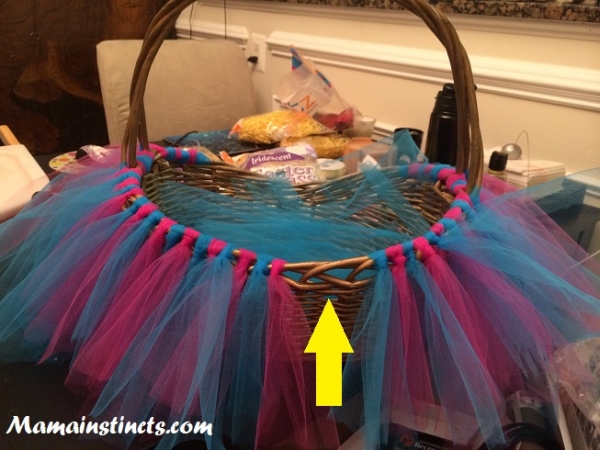
You will have to thread the tulle fabric around the rim of the basket. This means the length of the each tulle strand depends on the height of your basket. I just took a piece, fold it in half and measured it against the basket. I made sure it was a little longer than the basket because it’s better to have extra fabric then less. Once I figured out the size I needed I proceeded to cut each strand that size.
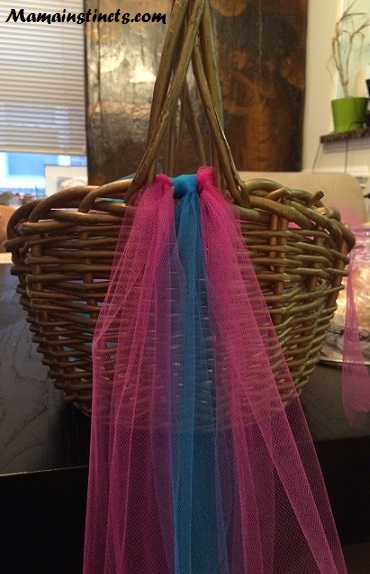
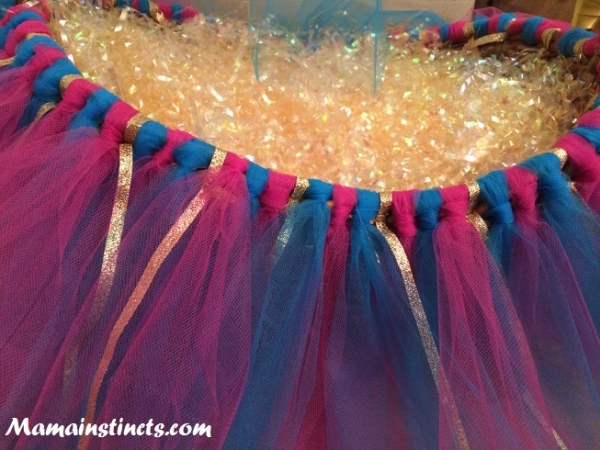
Now comes the fun part! I did this while watching Mad Men with my husband (we’re obsessed with this show!). All you have to do is thread each piece of tulle until you have tulle all around the basket. To do that you have to fold the fabric in half, pull from the folded part through the basket rim and then loop the ends of the fabric inside the loop created by the fold. Make sure you put each strand close together. If you’re going to add ribbons do it after you completed putting tulle all around the basket. Measure and cut the size you need and thread it the same way you did with the tulle.
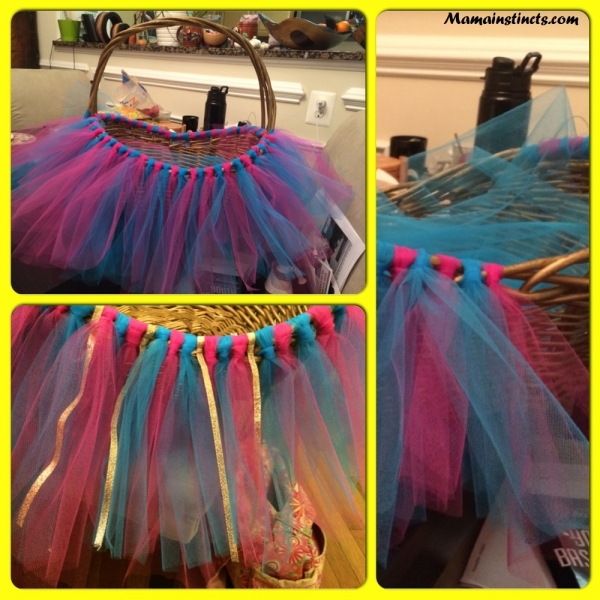
This is where you can experiment how you want your basket to look. I alternated fuchsia and turquoise and then added the golden ribbon every 3 strands of fabric.
Once the rim of the basket is done and all you have to do is wrap ribbon around the handle – that is, if you want to. This is where I used the glue gun. I didn’t want the ribbon coming off easily so I just glued it around the handle.
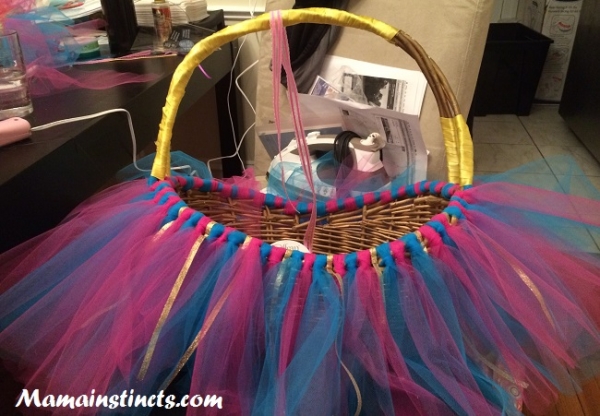
Then I cut several of the ribbons and made a simple bow that I tied it to the top of the basket.
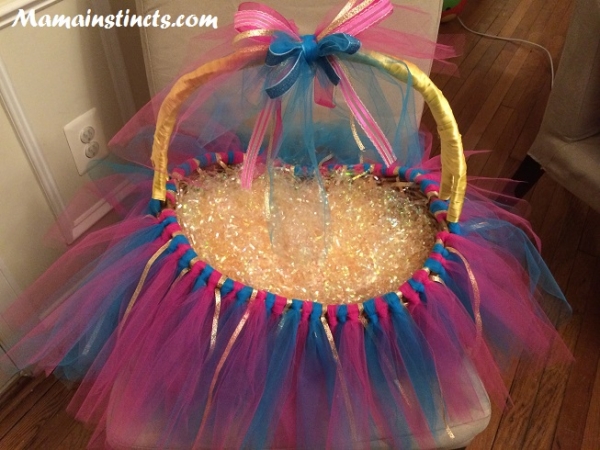
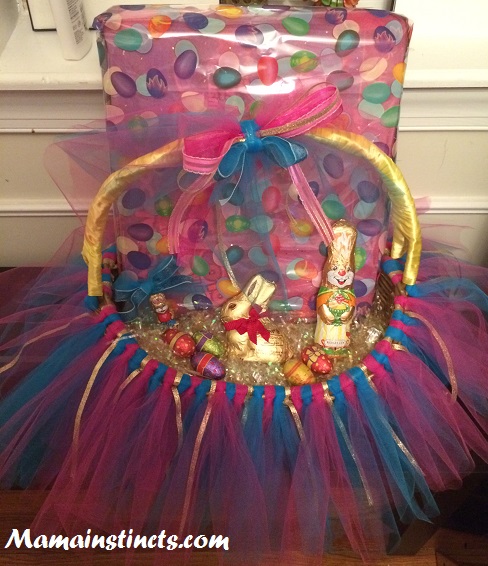
I added some Easter paper grass at the bottom of the basket and voila! It’s ready! You have your own personal Easter basket.
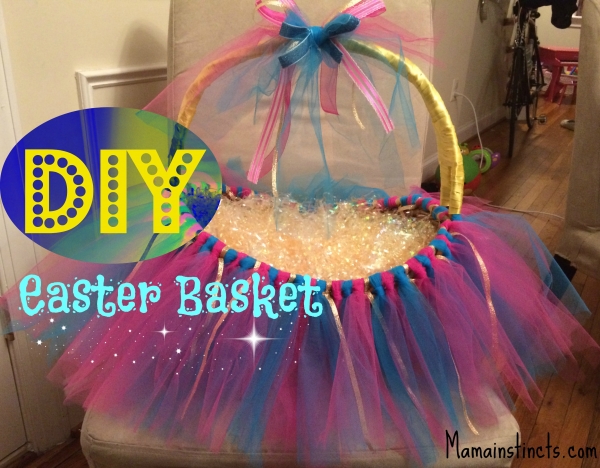
Here is what my basket looked like – Not bad for my first time.
If you decide to make your own basket I’d love to see it! Share it on my Facebook page, please!
Looking for other Easter craft ideas? Check out my giant Easter egg. Fits plenty of gifts!
DIY Easter Basket
A fun way to customize an Easter basket.
- A basket
- Tulle fabric
- Ribbons
- Scissors
- Easter paper grass
- Glue gun (although this is not a must)
- Cut length of tulle to go around the rim of your basket.
- The length of the each tulle strand you need will depends on the height of your basket. Take a piece of tulle, measured it against the basket and then double that length. I made sure it was a little longer than the basket because it’s better to have extra fabric then less. Once I figured out the size I needed I proceeded to cut each strand that size.
- Now comes the fun part! All you have to do is thread each piece of tulle through the rim of the basket until you have tulle all around the basket.
- To do that you have to fold the fabric in half, pull from the folded part through the basket rim and then thread the ends of the fabric inside the loop created by the fold. Make sure you put each strand close together. If you’re going to add ribbons do it after you completed putting tulle all around the basket. Measure and cut the size you need and thread it the same way you did with the tulle.
- This is where you can experiment how you want your basket to look. I alternated fuchsia and turquoise and then added the golden ribbon every 3 strands of fabric.
- Once the rim of the basket is done and all you have to do is wrap ribbon around the handle – that is, if you want to. This is where I used the glue gun. I didn’t want the ribbon coming off easily so I just glued it around the handle.
- Then I cut several of the ribbons and made a simple bow that I tied it to the top of the basket.
- I added some Easter paper grass at the bottom of the basket and voila! It’s ready! You have your own personal Easter basket.
Leave a Reply