Did you know that you can make at home a soap bar with crystals in it? Yes, those pretty soap bars that are getting so popular with one or a few crystals in them are really easy to make when you follow a pour and melt soap recipe.
The best part is that it’s very easy to make and it takes about 10 minutes to prepare so it’s the perfect DIY gift for Christmas, a birthday or any other special occasion. It’s also a fun activity to make with the kids – when I make these pour and melt soaps I always have the kids help me pick the crystals.
You can even make soap with toys inside of them! So in one batch you could do both types of soap, the one explained below and the toy with toys inside of them. The options are endless!
The secret behind a soap bar that is very easy to make is using a pour and melt soap base.
What is a pour and melt soap base?
Soap making requires time, lots of it. To make soap you have to go through the “saponification” process, which involves mixing fats with lye. After that’s done, the soap has to cure for several weeks. So, making a soap from scratch is not a fast nor easy task. That’s where using a soap and melt base comes in, it saves you lots of time because this base has already gone through this process.
A pour and melt soap is a ready-made soap base. You can use it as is or add a few ingredients to customize it to your liking, pour it in your mold of preference and then wait for it harden. Usually pour and melt soap comes shaped like a big block, about the size of a brick, so it’s easy to use only what you need or the whole piece.
Plus, pour and melt bases don’t have any fragrances so you can easily make a soap that smells just the way you like it, using essential oils, which are a lot safer than most synthetic fragrances found in beauty products.
Making soap using a pour and melt base saves you lots of time and it’s the faster way to make custom soap bars!
Soap bars with crystals
Whether you’re into crystals or not, I think we can all agree that they make any soap bar look prettier. Which is why it makes such a great gift! But if you’re into crystals, you can make this soap bar using crystals that have different calming, soothing or inspiring properties.
The best type of crystals to use for your soap bar are small crystals that have been polished. This way when you use the soap the crystal won’t scratch you skin.
Here are some crystals that are great for soaps:
- Rose Quartz small stones
- Mini Stone Small Stone Mix
- Aquamarine Stone Polished
- Extra Small Assorted Crystals
- Polished Quartz Flats
How to make a soap bar with crystals using a pour and melt soap base
If you use a standard soap size mold, this recipe makes around 8 soap bars.
Ingredients:
- 1 Pour and melt soap base clear (or this aloe vera one)
- 1 teaspoon argan oil (optional)
- Essential oils – pick scents you like
- Optional: 1 white pour and melt soap base – get it if you want to do some soaps half clear and half a solid color
- Silicone soap molds – the molds I used for the pictures on this post are a rectangular, circular and flowers
- Spray bottle with alcohol – this is only necessary if you want smooth out the bubbles, I tend to skip this step
Directions:
Cut the melt and pour soap in squares. This will help the soap melt faster.
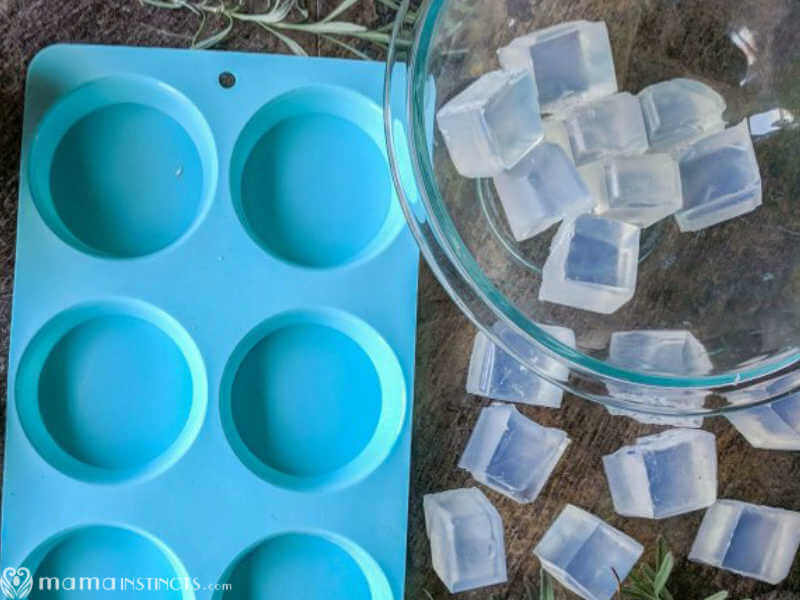
You can melt it in the microwave in 30 seconds intervals or you can use the double boiler method. The microwave method is faster but we don’t use microwaves so I use the double boiler method.
Place the soap cubes in a glass jar, if they don’t all fit at once you can keep adding them once some of the soap has melted. Place the glass jar inside a pot with water and cook on medium/low heat. Don’t leave it unattended as the soap melts fast.
While you wait for the soap to melt, set up the silicone molds in a place where they can be left untouched for a few hours and choose your crystals.
Make sure you wash the crystals with soapy water and then dry them off completely. Set aside.
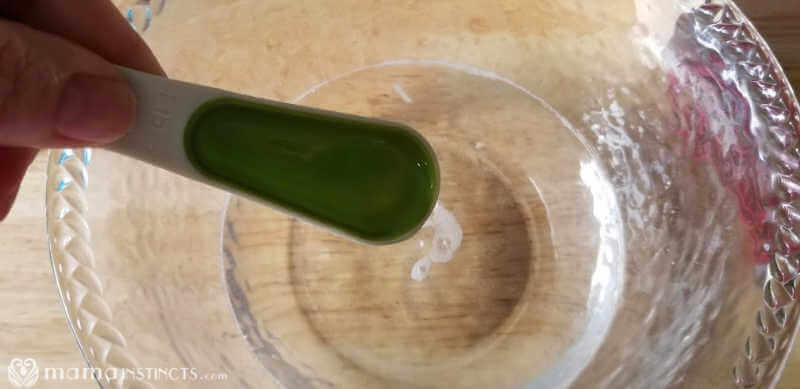
Once the soap has melted add the argan oil (if you’re using any) and the essential oils. For the essential oils add 10 drops and then smell your soap, keep adding drops of essential oil until you’re satisfied with the smell. Don’t use more than 40 drops.
There are 3 ways to make a soap bar with crystals:
- With the crystal on one end (best if you’re using a white / colored pour and melt base)
- With the crystal partially out of the soap bar (great if you’re combining white and clear soap base)
- With the crystal suspended in the middle of the bar (best if you’re using a clear pour and melt base)
How to make a soap bar with the crystal on top:
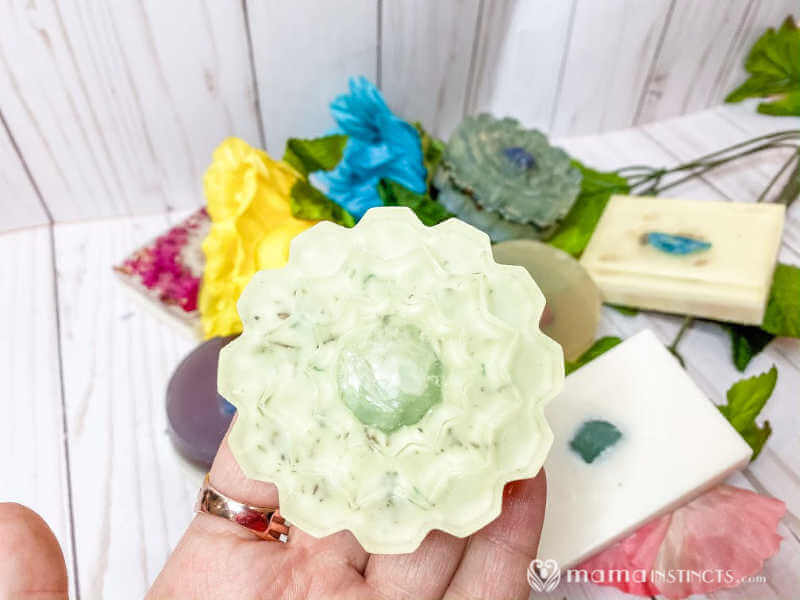
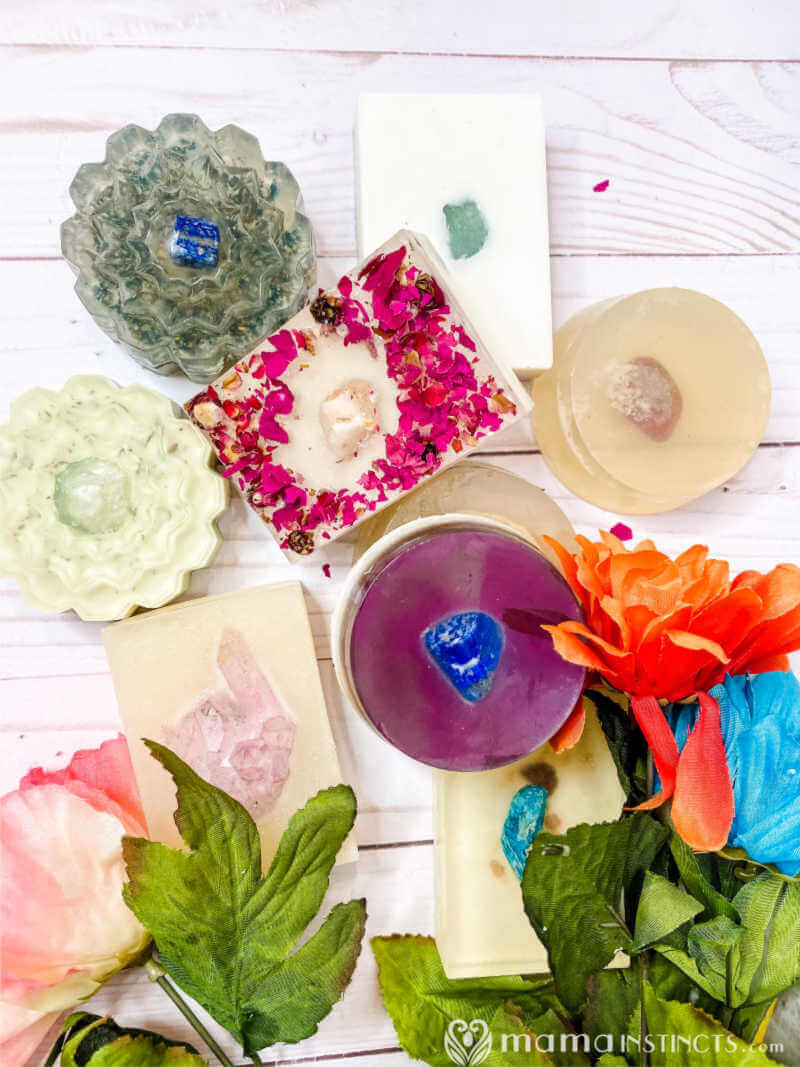
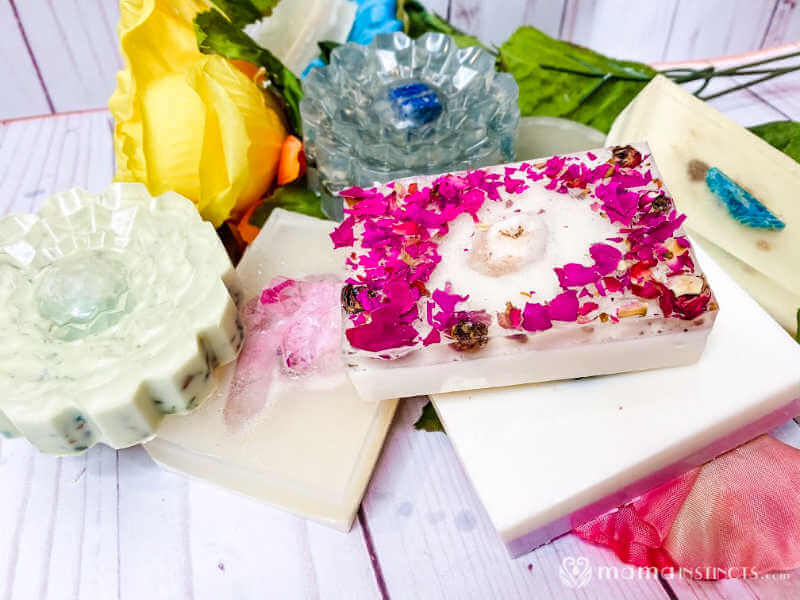
This is the fastest way to make a soap bar. It’s also the best method to follow when using a soap base that is not clear, since you won’t be able to see the crystal if it’s suspended in the middle of the bar. The end result will look like the white soap bar with a green crystal in the middle that’s pictured below.
All you have to do is place the crystal inside the mold and then pour the melted soap in the mold until you reach the top of the mold. That’s it!
How to make a soap bar with the crystal partially out of the soap:
Fill your mold 2/3 of the way with the melted soap base – this could be either clear or white soap. Allow for the soap bar to harden for about an hour.
Then, place the crystal on the soap bar and melt the clear soap. Fill up with mold with the melted soap.
The end result will look like the white soap with a pink crystal (pictured below) or the purple round soap with a blue crystal in it (pictured above).
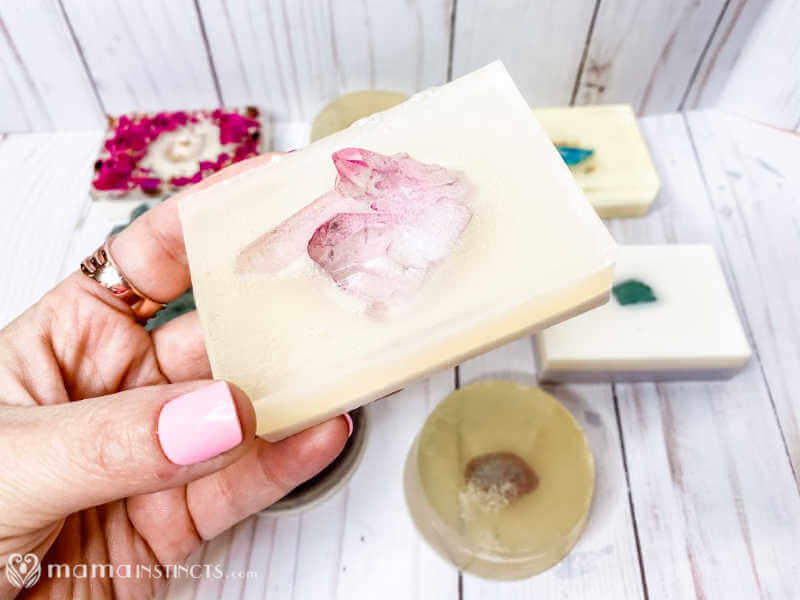
Keep in mind that even though this looks cool, it’s not ideal since the crystal is not polished. Use soap bars like these for decoration.
How to make a soap bar with the crystal suspended in the middle:
If you’re going to be making soap bars using this method, I recommend you don’t melt all the soap base at once, only 1/3 of it at a time.
This is my preference for crystal soap bars since the clear soap allows you to see the whole crystal.
Fill the mold 1/3 of the way with clear melted soap. Set a timer for 20-30 minutes.
Once the soap in the mold has hardened, place the crystal on top of it, melt the clear soap base and add the melted soap. Fill up the mold to the top.
Regardless of which method you choose, the remaining steps are the same.
After you completed method 1, 2 or 3, all you have to do is wait for your soap bar to harden. It’s best to let your soap harden for about 5 hours to make sure the entire bar is solid. You can also let them sit overnight.
Once the soaps have had enough time to harden, take them out of the mold. Now they’re ready to be used!
You can store them in a glass container or wrap them in plastic wrap or parchment paper to protect the bars.
If you’re making these bars for a gift, wrapping them is necessary.
Now you have super pretty soap bars to give away!
Leave a Reply