In my home we’re always making some sort of DIY product. I have so many ingredients that I love to experiment with new combinations and then trying them out with my family and friends.
Last year I developed quite the obsession with soap making but I am a busy mom of 2 little ones so I took the “easy route” when it comes to soap making. I started experimenting with melt and pour soaps.
Melt and pour soaps are a soap base that you can buy and customize to your liking. You use them as a base for you soap, add any extra ingredients you want and let it harden into the soap shape of your preference. It’s a pretty easy way to make soap bars.
There many melt and pour soaps out there but I like to buy organic and safer products when it comes to personal care, so I make all of my soaps using this organic soap base.
In order to make melt and pour soap you don’t need much. In fact, my favorite is making loofah soap bars and oatmeal lavender soap bars, they both require just a few ingredients and are so easy to make. Plus, they leave my skin feeling so soft and they smell divine!
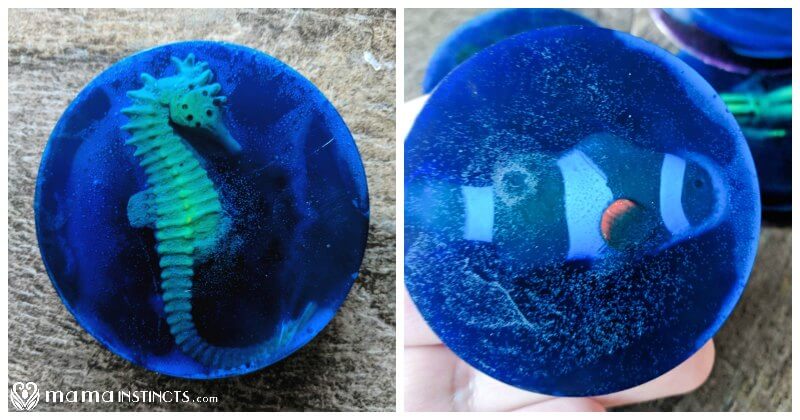
One day when I was making the loofah soap bars it occurred to me that I should make something similar using transparent soap and tiny toys. I told my oldest my idea and we started making soap that same day.
This has been by far my daughter’s favorite project. She loves these soaps so much that for Christmas we made lots of them for her friends. Every single kid that got one of these soap bars was so excited! It would even make a great goodie bag gift!
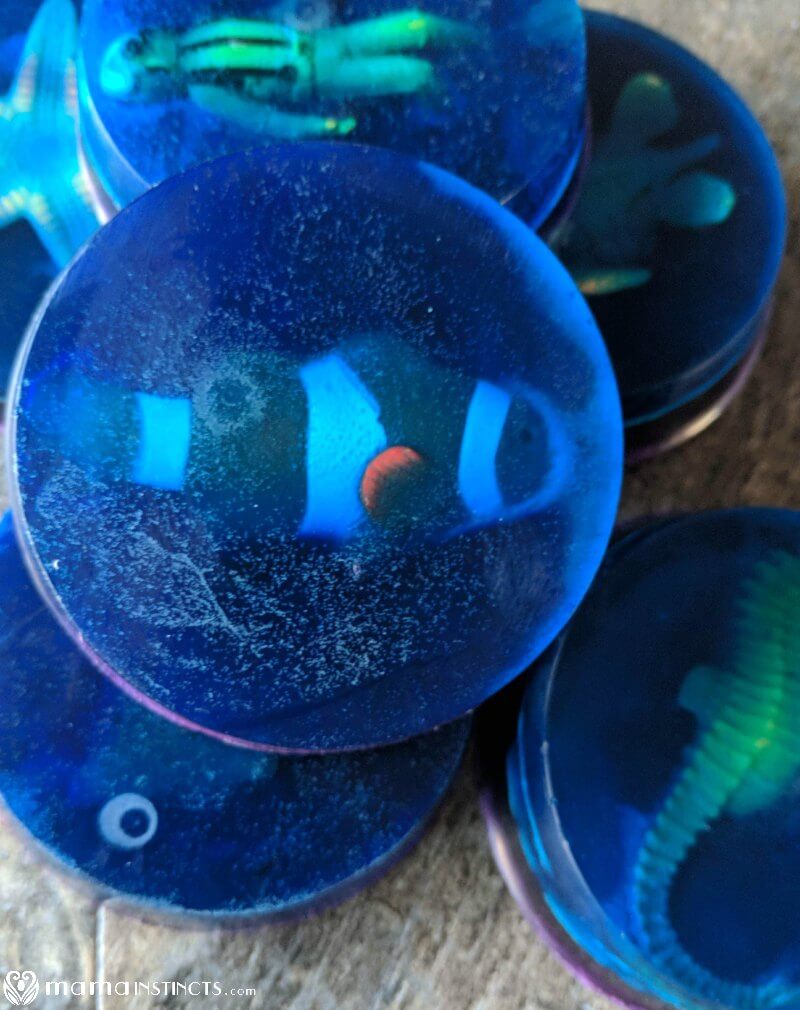
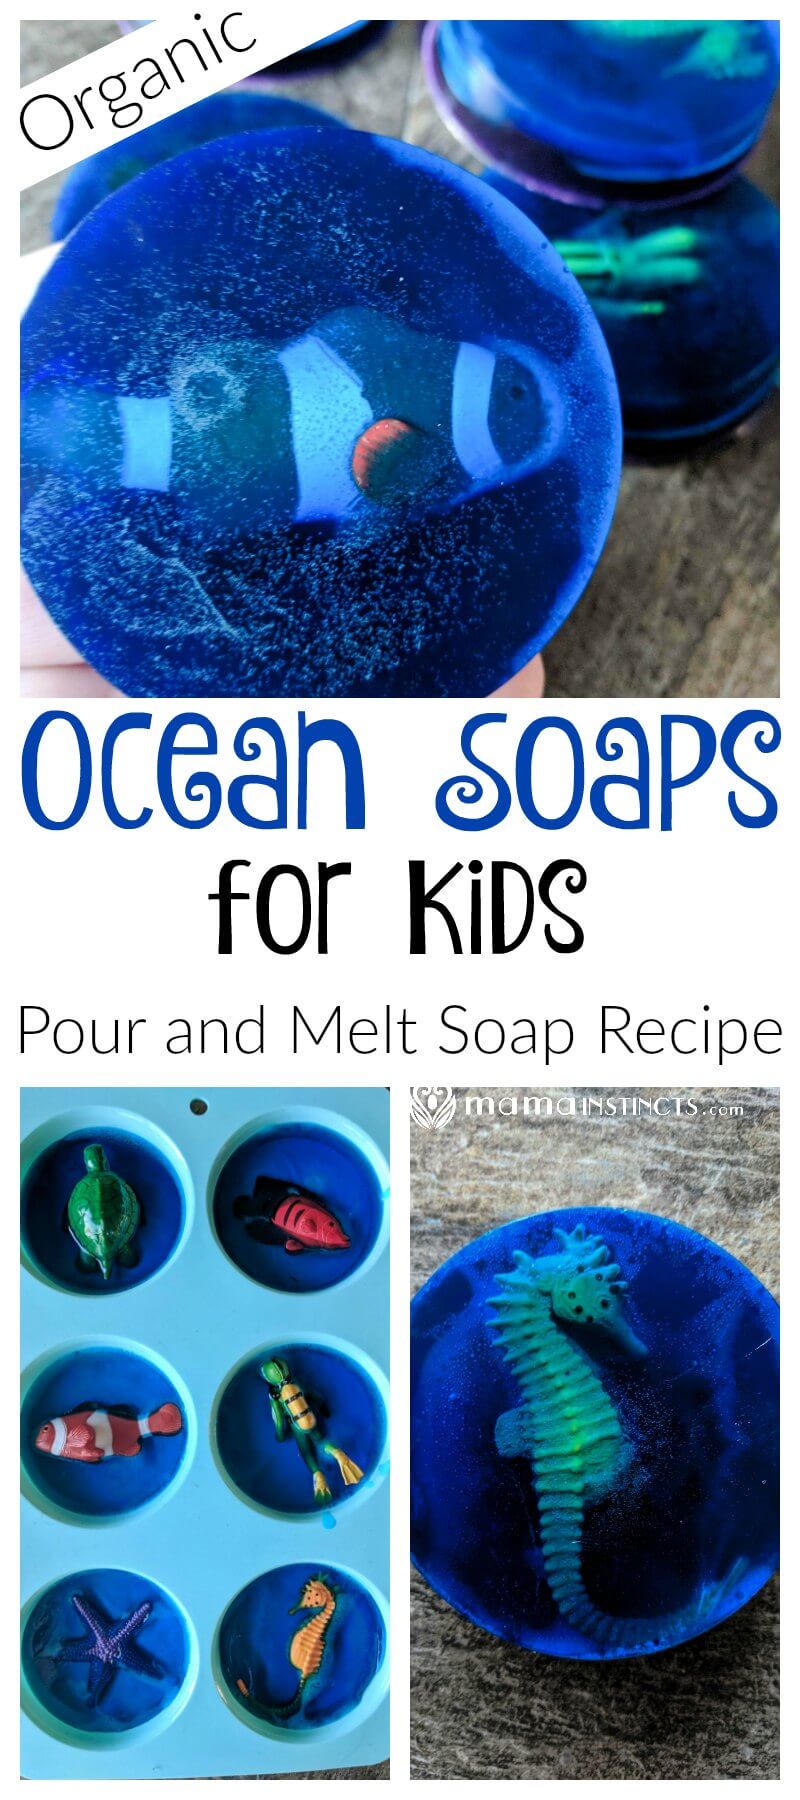
DIY Ocean Soaps for Kids
{Pour and Melt Organic Soap Recipe}
Ingredients:
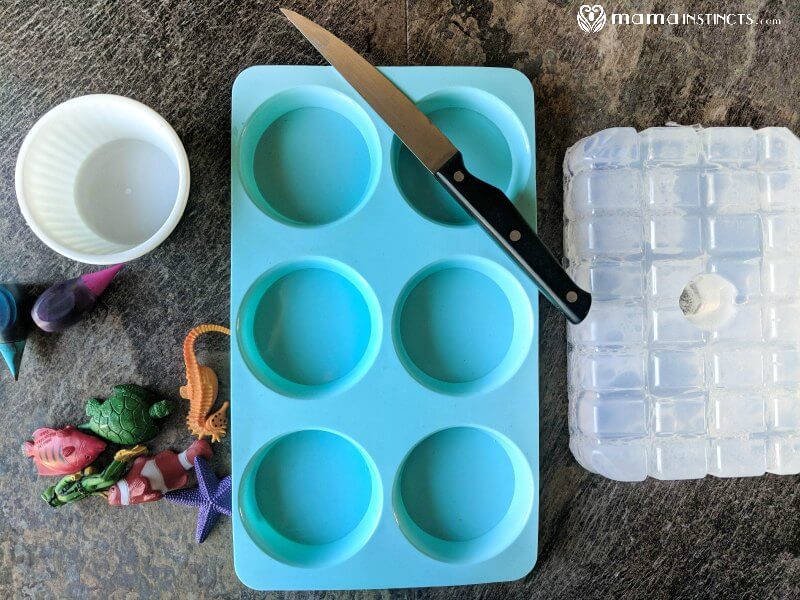
- Silicone molds: round or rectangular
- Organic clear glycerin pour and melt soap
- Optional:
- 2 drops of natural food coloring: use this if you want the soap to have color (I used blue food coloring for the soaps you see on this post)
- 10 drops of essential oils: I like to use vanilla and sweet orange or vanilla and lavender.
- TOOB coral reef figurines (this is our favorite) or TOOB ocean figurines
Directions:
If you purchased the soap I mentioned above, only use half of it. This will make about 3-5 soap bars depending on the mold you’re using.
Cut one half of the melt and pour soap in squares. This will help the soap melt faster. You can melt it in the microwave in 30 seconds intervals or you can use the double boiler method. We don’t use microwaves so I use the double boiler method.
Place the soap cubes in a glass jar, if they don’t all fit at once you can add them once some of the soap has melted. Place the glass jar inside a pot with water and cook on medium/low heat. Don’t leave it unattended as the soap melts fast.
While you wait for the soap to melt, set up the silicone molds in a place where they can be left untouched for a few hours.
Let your child pick the ocean figurines they want to use for the soaps and wash them with soapy warm water. Make sure you dry them well before you make soap with them.
Once the soap has melted add the food coloring and the essential oils, if you’re using any. Add one drop at a time and stir until you reach the desired color.
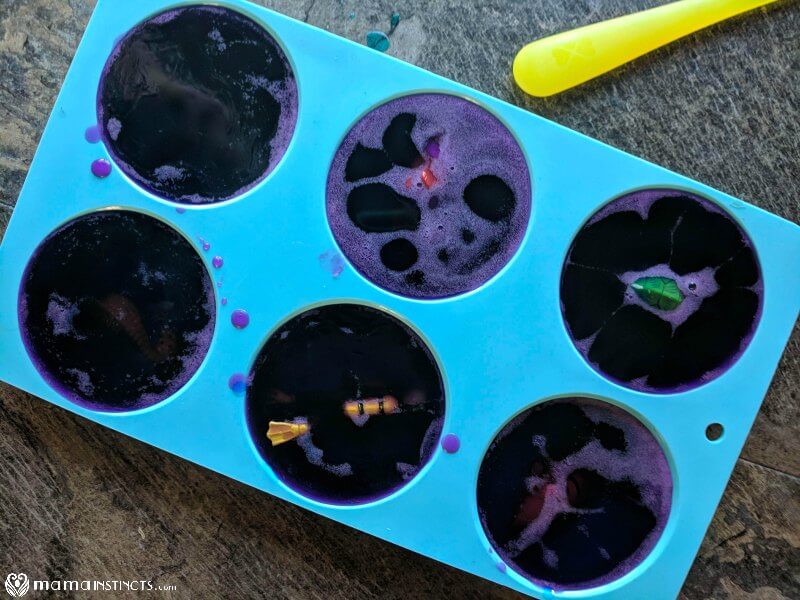
Now it’s time to pour the mixture in the silicone molds. There are 2 ways to do this:
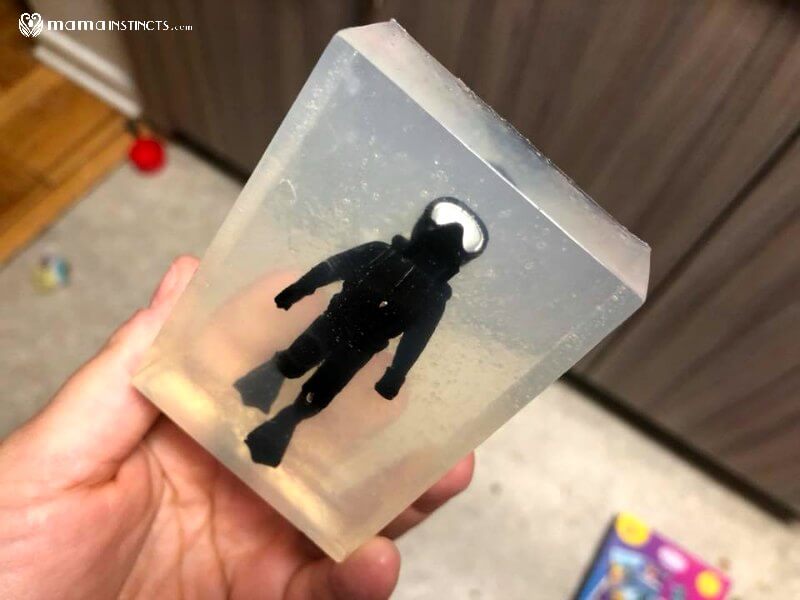
With toy in one end of the soap:
If you don’t have a lot of time, just place the toy inside the mold and then pour the melted soap in the mold until you cover the toy or reach the top of the mold. Since the toy is heavier than the soap the toy will be on the bottom part of the soap once it’s solid.

With toy in the middle of the soap:
This is how I like to do it and it requires about 5-10 extra minutes. Fill the mold 1/3 of the way with melted soap. Wait about 5-10 minutes for the top layer to be hard enough to support the toy. While you wait for the soap in the mold to harden, keep the melted soap inside the pot with warm water so it doesn’t harden. If it does harden, you can quickly melt it again.
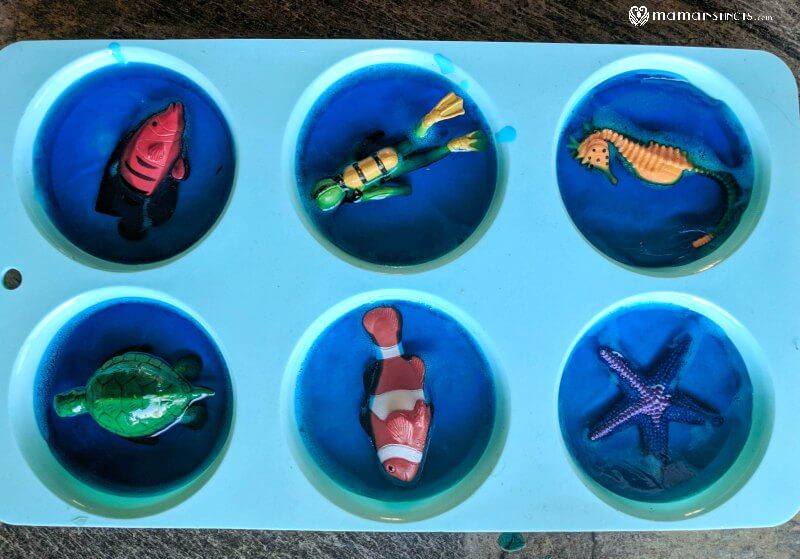
Place the toy inside each mold, on top of the soap that’s hardened, and pour the remaining of melted soap until you cover the toy. Wait for it for completely harden – this will take a few hours.
You soap is now ready to use!
My kids have so much fun with these soaps. Most of the time I keep it simple and don’t even use the food coloring.
Let the kids decide if they want to use the coloring or not. I always involve my kids when making these soaps because it is so much for them. We usually make a batch of 5 and my oldest always ends up giving a few to her friends.
This not only makes bath time so fun for the little ones but it encourages them to clean themselves with a cool looking soap that doesn’t contain harsh chemicals. I’m pretty sure the reason my 2 year old lets me wash her with soap it’s because it has a toy inside. It’s a parenting win!
Once we run out of soap we keep the little toys in the tub and eventually reuse them to make new soap bars.
I hope your kids love these soap bars as much as we do!
DIY Ocean Soaps for Kids {Pour and Melt Organic Soap Recipe} Creation
Leave a Reply