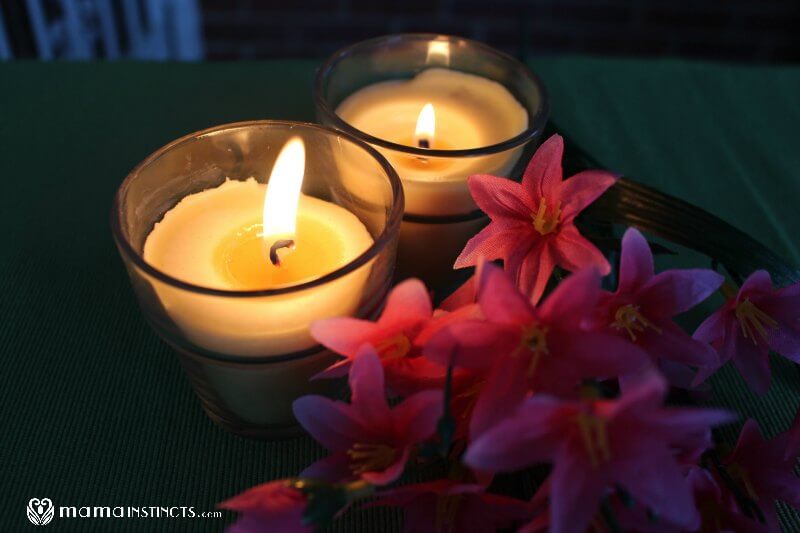
There’s something about candles…a dark room, a flickering light and the right scent can turn a not-so-good day into a better one. They are romantic and relaxing and let’s face it, who doesn’t love candles?
Every house I walk into I always has candles. My home used to be that way too. Even as a teenager I was obsessed with candles and had them all over my room and the nicer they smelled, the more I turned them on.
Then I started researching candles and immediately threw out all the candles I owned but I still missed having candles. That’s when I started experimenting with making my own candles and I was surprised to discover that it’s a lot easier than you think.
I want to show YOU how EASY it is to make your own non-toxic, air-purifying candles. But before I do that, let me tell you what’s wrong with most candles…
Most candles are made with paraffin wax which is an oil by-product that gives off toxic particles into your home. Burning paraffin candles produced undesired chemicals, like alkans, acetone, alkenes, and toluene, which can have harmful effects on humans and are known carcinogens. In fact, the toxins released from paraffin candles are the same as those found in diesel fuel fumes.
“For a person who lights a candle every day for years or just uses them frequently, inhalation of these dangerous pollutants drifting in the air could contribute to the development of health risks like cancer, common allergies and even asthma,” according to Dr. Ruhullah Massoudi.
As if that wasn’t bad enough, some candles have wicks that contain heavy metals like lead, which are released in dangerous amounts. Wick in leads has been banned in the U.S. but it’s believed that about 30% of the cheap candles still contain lead in wicks.
Many candles also contain artificial scents and dyes, formaldehyde, significant levels of VOCs and phthalates, all which release toxic chemicals when burned. For more information on why this is dangerous read this post on scented gel air fresheners which covers the damaging effects of these chemicals.
So, now you can see why I got rid of all of my candles. For a while I just stopped using candles all together but then I started to look for safer alternatives and luckily they exist.
If you don’t want to experiment with candle making, you can buy safer options.
Soy wax candles are considered safe. However, most soy is GMO so if you’re buying a soy wax candle make sure it’s non-GMO. Most soy based candles in the market are actually half soy wax and half paraffin so they are no better than the just paraffin candles. This is why, when buying a soy-wax candle, you need to make sure it’s 100% soy wax. If it’s non-GMO and 100% soy wax, you’re safe.
The safest and cleanest wax in candles, and the one I use, is beeswax. Beeswax is not only safe and non-toxic but it actually clears indoor air pollution! Beeswax candles emit negative ions, which help reduce positively charged ions in the air. It’s pretty amazing!
Beeswax candles tend to be more expensive but they’re very affordable if you make them yourself. The trick with making beeswax candles, or any candle, is to get the right wick. Since beeswax candles burn at a different rate than other types of candles, you need to make sure you buy the right size of wick for the container you’ll be using.
I spent more hours than I would like to admit researching wicks so in order to spare you failed attempts at candle making, I’ll share with you the container size I used along with the wicks I used. These result in perfect burning candles so you won’t have to waste time experimenting.
If you do decide to use other jars, keep in mind that you have to measure the diameter of the jar you’re using in order to find the right wick size for the jar. Once you figure that out, the rest is pretty easy. You can see here a video on different wick sizes.
The best part of beeswax candles is that you can leave them unscented and they will give off a slight honey scent or you can scent them with essential oils. I’ve made both types and love the endless possibilities of making scented candles. You can even makes beeswax scented candles for different occasions, like Thanksgiving or Christmas!
If you’re going to burn scented candles near young children, make sure you make them with essential oils that are safe for babies, such as lavender and chamomile.
See how easy it is to make DIY beeswax candles by watching this video tutorial:
How to make Homemade Beeswax Candles
This recipe makes two 4 oz candles or one 8 oz candle. I like to make several batches of scented candles at once so I end up making this recipe about 2-3 times in a row.
Ingredients:
- 1 cup Organic Yellow Beeswax or Organic White Beeswax
- 1/4 cup Organic Coconut Oil
- Medium Wicks
- Wick stickers (optional)
- Glass jars: 4 oz or 8 oz
- Optional: 2 teaspoons of essential oils. My favorite ones for beeswax scented candles are:
Directions:
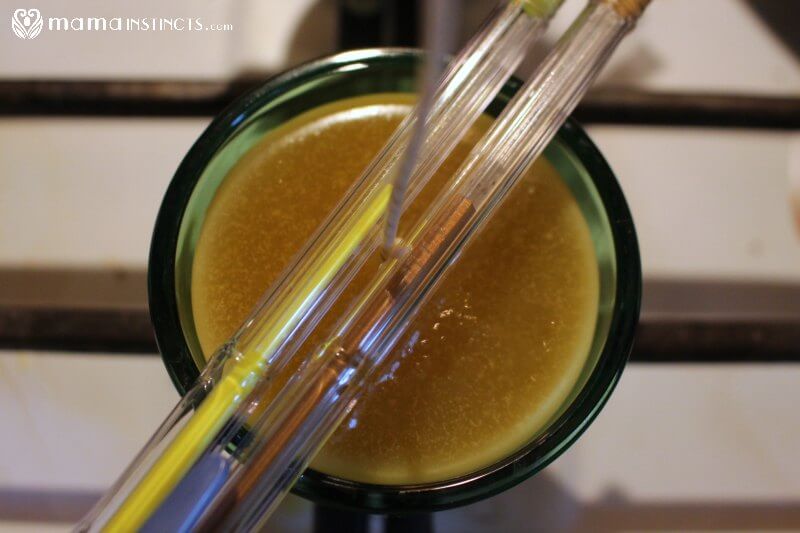
In order to make the candles you need to use the double boiler method. In a small sauce pan bring water to boil. Once the water is warm put a glass jar in the middle of the pan with the beeswax and coconut oil in it.

Since this glass jar tends to get messy, I have one jar I use for candle making.
While you wait for the beeswax to melt prepare the candle jars. You need to make sure the wick stays in place when you pour the wax into the containers. In order to accomplish this, use the wick stickers or a glue gun to glue the wick to the bottom of the glass jar. Alternatively you can dip the bottom of the wick in the beeswax – the beeswax will act as a glue.

If you’re using the beeswax to secure the wick make sure you press down hard against the glass jar and wait for the beeswax to harden before adding any more beeswax.
Now that your jars are ready make sure the beeswax and coconut oil are completely melted. You can use a spoon to mix it up and speed up the process a little.
Once there are no trace of beeswax pellets and everything has melted, turn of the stove top. Then add the essential oils, if you’re using any. Mix with a spoon for a few seconds and transfer the beeswax into the glass jars.
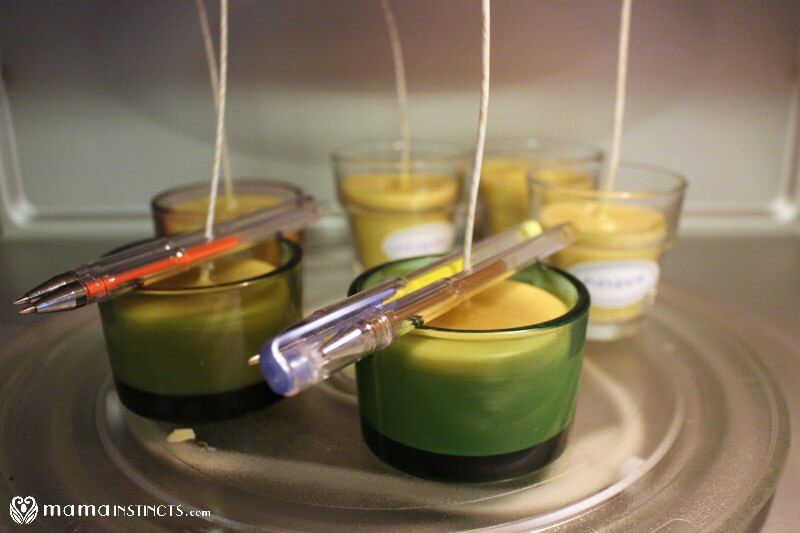
Use 2 pens to hold the wick upright while the beeswax hardens.
The beeswax will take a few hours to harden and it’s best to let it harden in a warmer room so it doesn’t crack while it’s hardening. I let it harden inside my microwave (with the microwave turned off).
If you leave it out in room temperature you might get a little crack at the top of your candle, this happens when the beeswax is settling in. I usually just leave it that way but if this is a gift you’ll want to fix that. All you have to do is melt a little bit of beeswax using the double boiler method. Melt just enough to create a thin layer to cover the top of the candle. Pour it on top of the candle and let it harden.
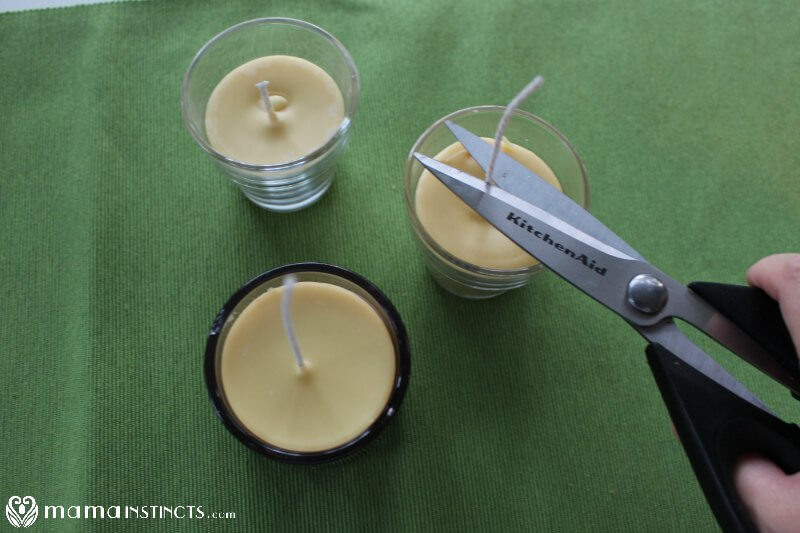
Wait about 12 hours to make sure the beeswax is completely hardened. Trim the excess wick off. I leave about 2 inches of wick.
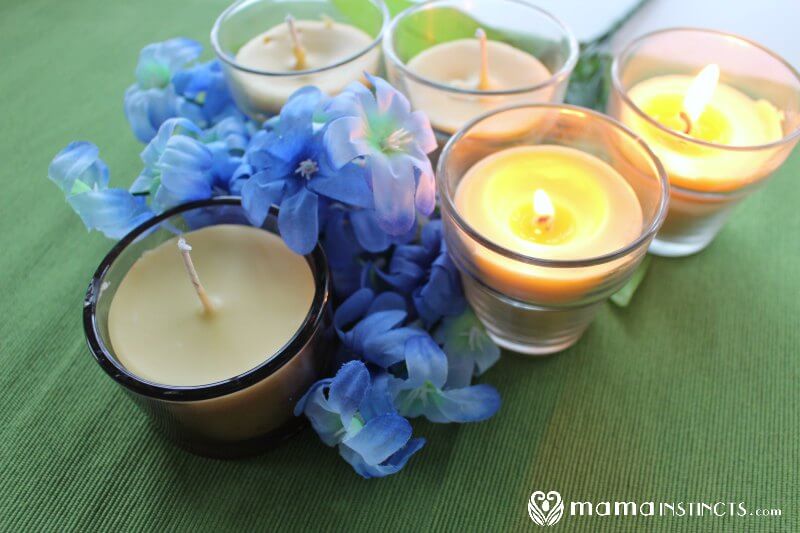
Now your candle is ready to be burned and enjoyed!
For best performance, the first time you turn on the candle burn it for 2 hours. After that first time you can burn it for as little or as long as you’d like.
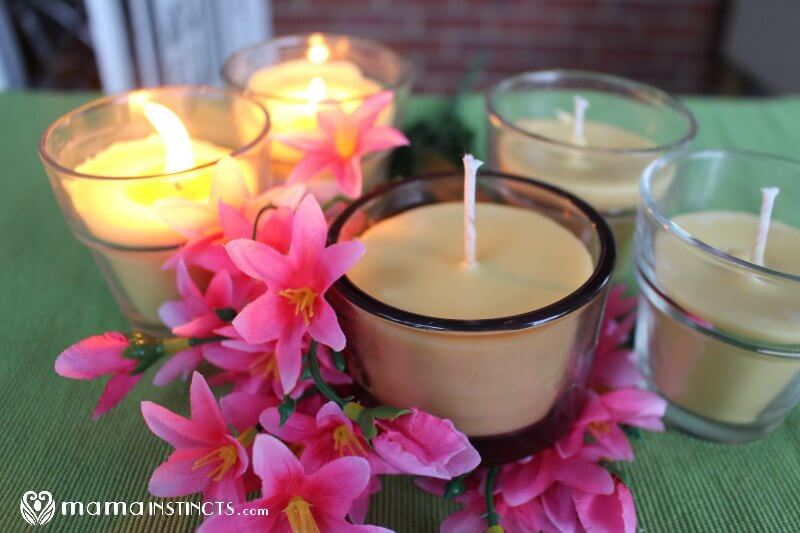
Isn’t that beautiful? Now you don’t have to worry about having toxic pollutants in your home and you can still enjoy the magic of candles.
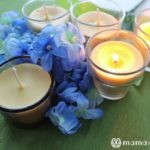
Homemade Beeswax Candles Creation

There is no such thing as Vanilla Essential Oil, other than that, good article.
Hi! There are actually many brands that make vanilla essential oils… this is my favorite one: https://amzn.to/2IkHD3E
Have a great day! 🙂
vanilla oil is an extract which is then blended by a suitable carrier oil
Hi
I saw a DYI for making beeswax candles in the oven using wax pellets. Do you know the best way to add color and/or scents? I was thinking of tossing the pellets with color or oil. What have you tried?
Thank you,
Kamalangston@yahoo.com
Hi! I have not added color to my candles but I use essential oils and vanilla to scent my candles.
How can I know I’m buying safe wicks? And how do I work out which size wick to use if I’m making a selection of multiple sizes? Many thanks!
Rather then using two pens to hold the wick straight I’ve used cotter pins for this purpose. They come in many different lengths and clean up easily.
What is the point of the coconut oil?
Because beeswax gets expensive… and by adding coconut oil you can make more candles without compromising the candle.
Interesting. Thanks 🙂
How many jars does this require if I’m using the 4oz jars?
Excellent informative article. Thank you!
Thanks so much for the informational part about beeswax! This article is what made me choose beeswax over soy when I decided to try my hand at candle-making. The trouble I seem to keep having is that the wax pulls away from the jar as it hardens (even when I let it cool to 160 degrees before pouring). Does this happen to your candles too? I might also try heating up the jars next time. But from what I have been reading; it’s almost unavoidable since beeswax expands/contracts when heated/cooled.
Thank you for talking about how much safer beeswax candles are compared to their alternatives. Reading that made me think a lot about how we use candles in areas like our bathrooms to try and get some scent out of them. To be safer, I’ll make sure I find a crafts store that sells beeswax candles for us to use.