Ever since I discovered sensory bags several years ago we’ve been obsessed with them because they’re so easy to put together and such an affordable activity. The best part is that it keeps both of my girls busy for several hours.
It is also the perfect activity for my youngest because she loves to chew everything that crosses her path but because the sensory bags are taped down to the table and the contents cannot be pulled out, she doesn’t try to chew it and actually plays with it.
Most sensory bags can be made with items you already have at home but for themed ones you probably will need to go to the dollar store or a craft store like Michael’s. If you don’t like to shop, Amazon has supplies too. My advice is that every time you see holiday theme things that would be fun for a sensory bag, to get them right then and there. I have a small craft box where I keep all the fun things my kids like to play with in sensory bags.
These bags are also great for when you need the kids to be occupied for a while so you can answer emails or cook dinner. Seriously – they are a must in every home!
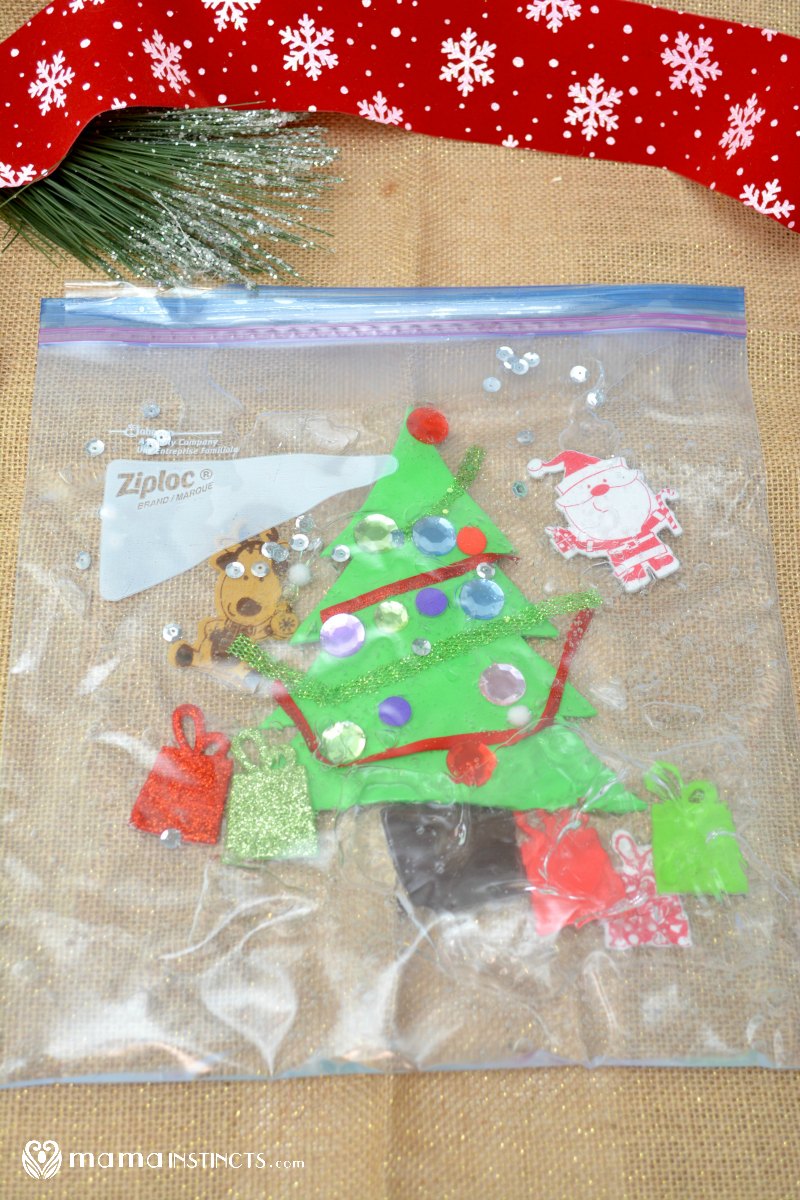
My all time favorite holiday is Christmas, so, of course, this is my favorite sensory bag. It’s not only super cute but it’s actually fun for adults too! I might have decorated the tree more times than I’m ready to admit. Haha!
If you have more than one kid and want to make separate sensory bags, try our Olaf sensory bag.
So, now onto the fun stuff!
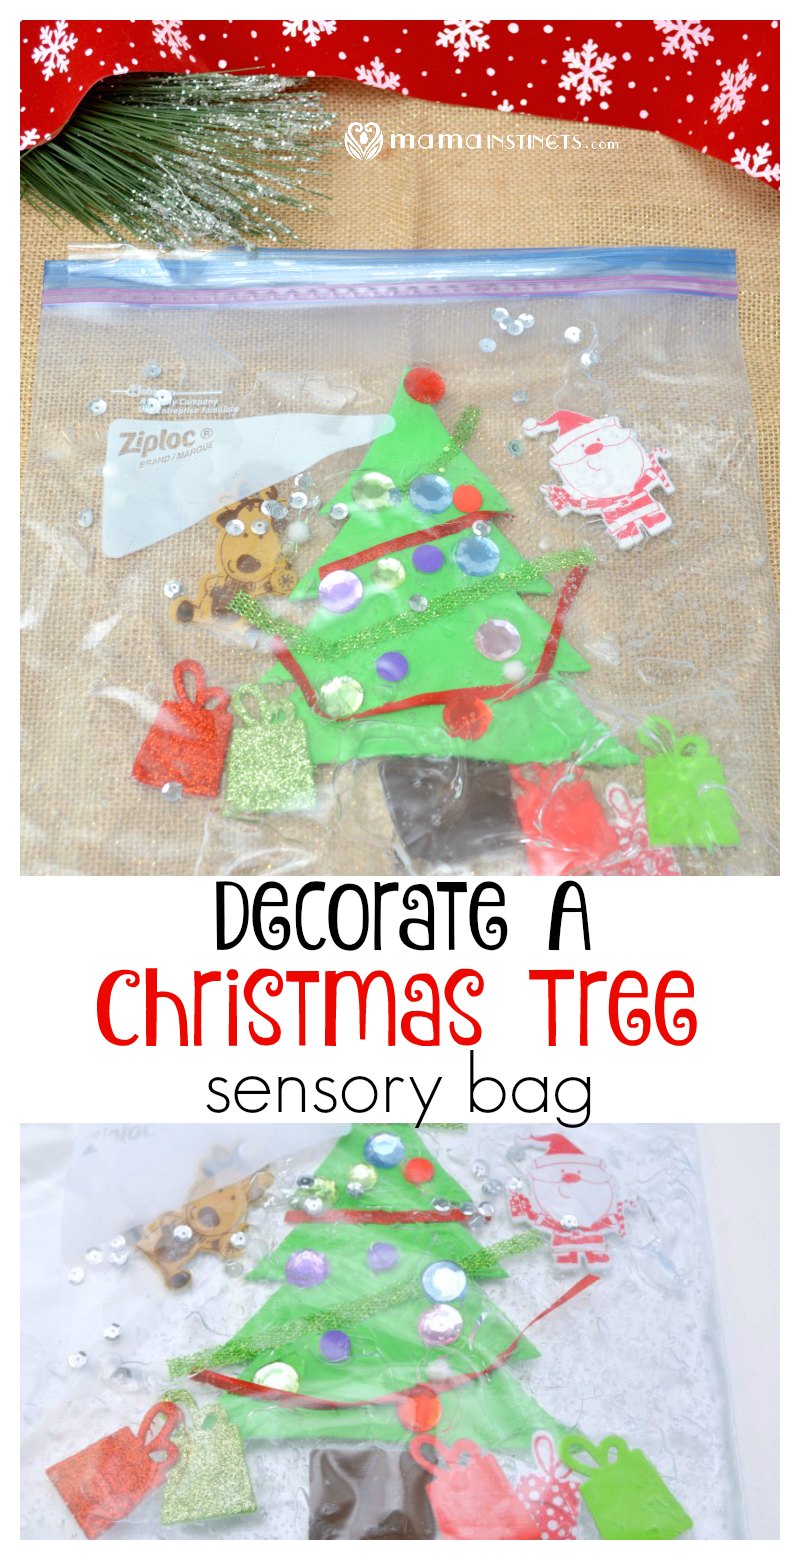
How to Make a Christmas Tree Sensory Bag
Materials:
- Green and brown craft foam for Christmas tree
- Yellow craft foam for star
- One gallon Ziploc bag
- Foam Christmas shapes: like a reindeer, Santa and presents
- Small craft foam circles, gems, sequins, pom poms and other small decorations
- Small pieces of colored ribbon, like this one
- Silver sequins
- Clear hair gel or hand soap (if you want to stick to food items, use whip cream instead)
- Scissors
- Pencil
- Packing Tape
Instructions:
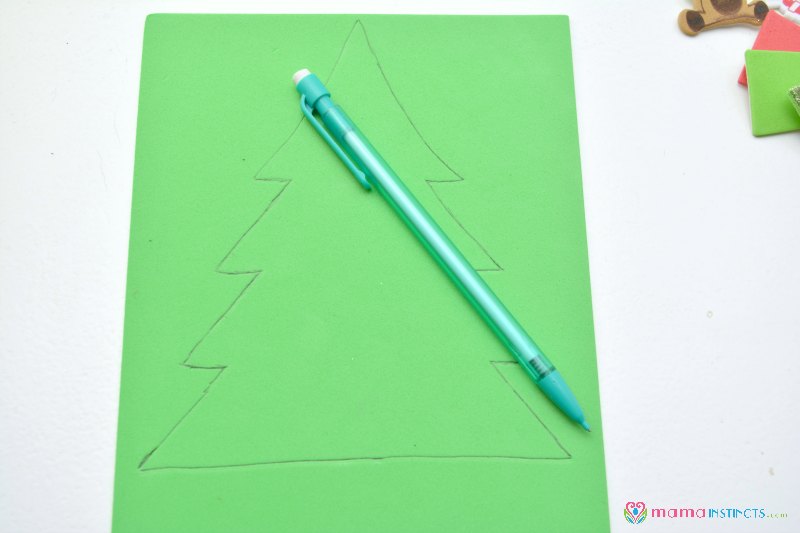
Draw the shape of a Christmas tree on a piece of green craft foam. You want to make it big enough to decorate, but small enough to comfortably fit into the Ziploc bag with room for moving around.
Cut out the Christmas tree shape from the green craft foam, and a small square shape using the brown craft foam to serve as a trunk for your Christmas tree.
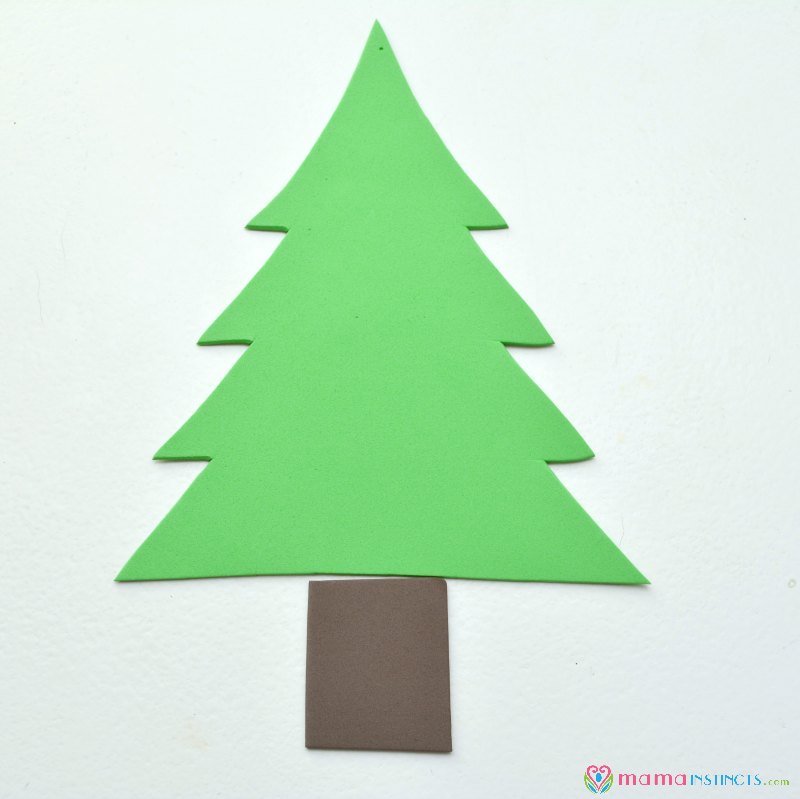
Then, cut a star shape using the yellow craft foam.
Fill a Ziploc bag with one large bottle of clear hair gel (these are really affordable at Dollar Tree).
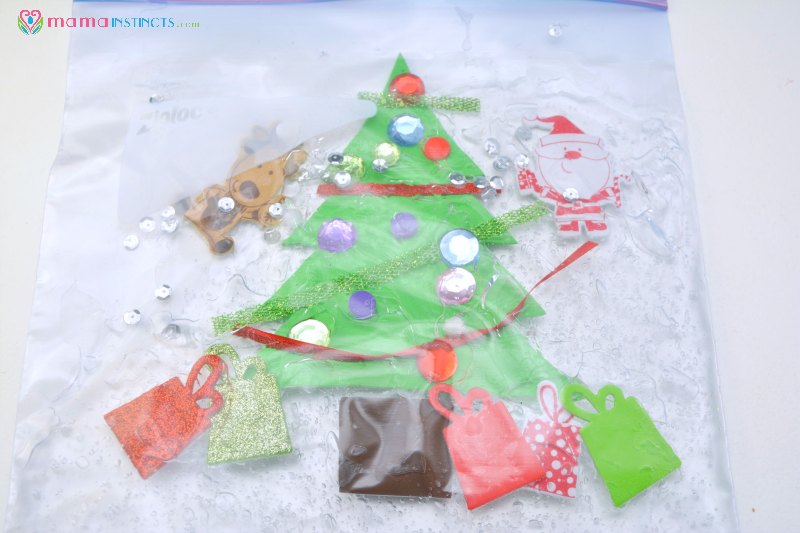
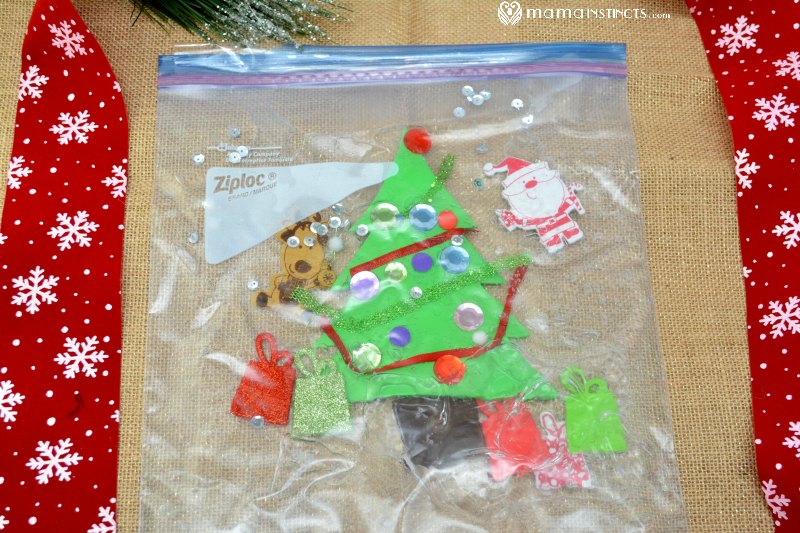
Add the foam Christmas tree pieces to the Ziploc bag with the hair gel.
Then, put in Christmas themed craft foam shapes like presents, a reindeer and Santa, as well as some small craft gems, pieces of ribbon, sparkly pom poms, craft foam circles, and anything else you might have in your craft box.
Get as much air as possible out of the Ziploc bag and seal the top tightly. Use a piece of packing tape to secure the top and avoid leaks.
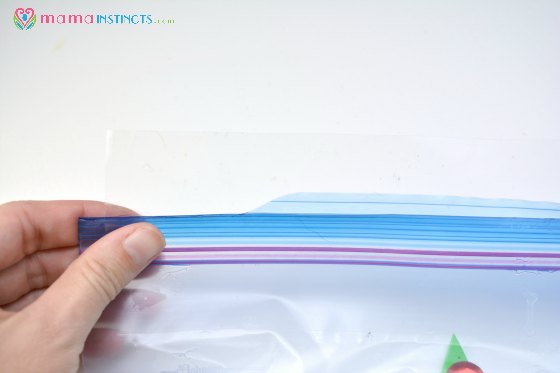
Tape the bag to a table by putting one piece of tape on each side.
Let your little one push the decorations around this fun-filled sensory bag and decorate their very own Christmas tree!
I always leave the bag taped to the table for a day or three and let the kids come back to it whenever they want to keep playing. It’s surprising how many times a day they come to play with the bag.
Happy Holidays!
How to Make a Christmas Tree Sensory Bag Creation
Save this sensory activity for later by pinning this image:
Leave a Reply