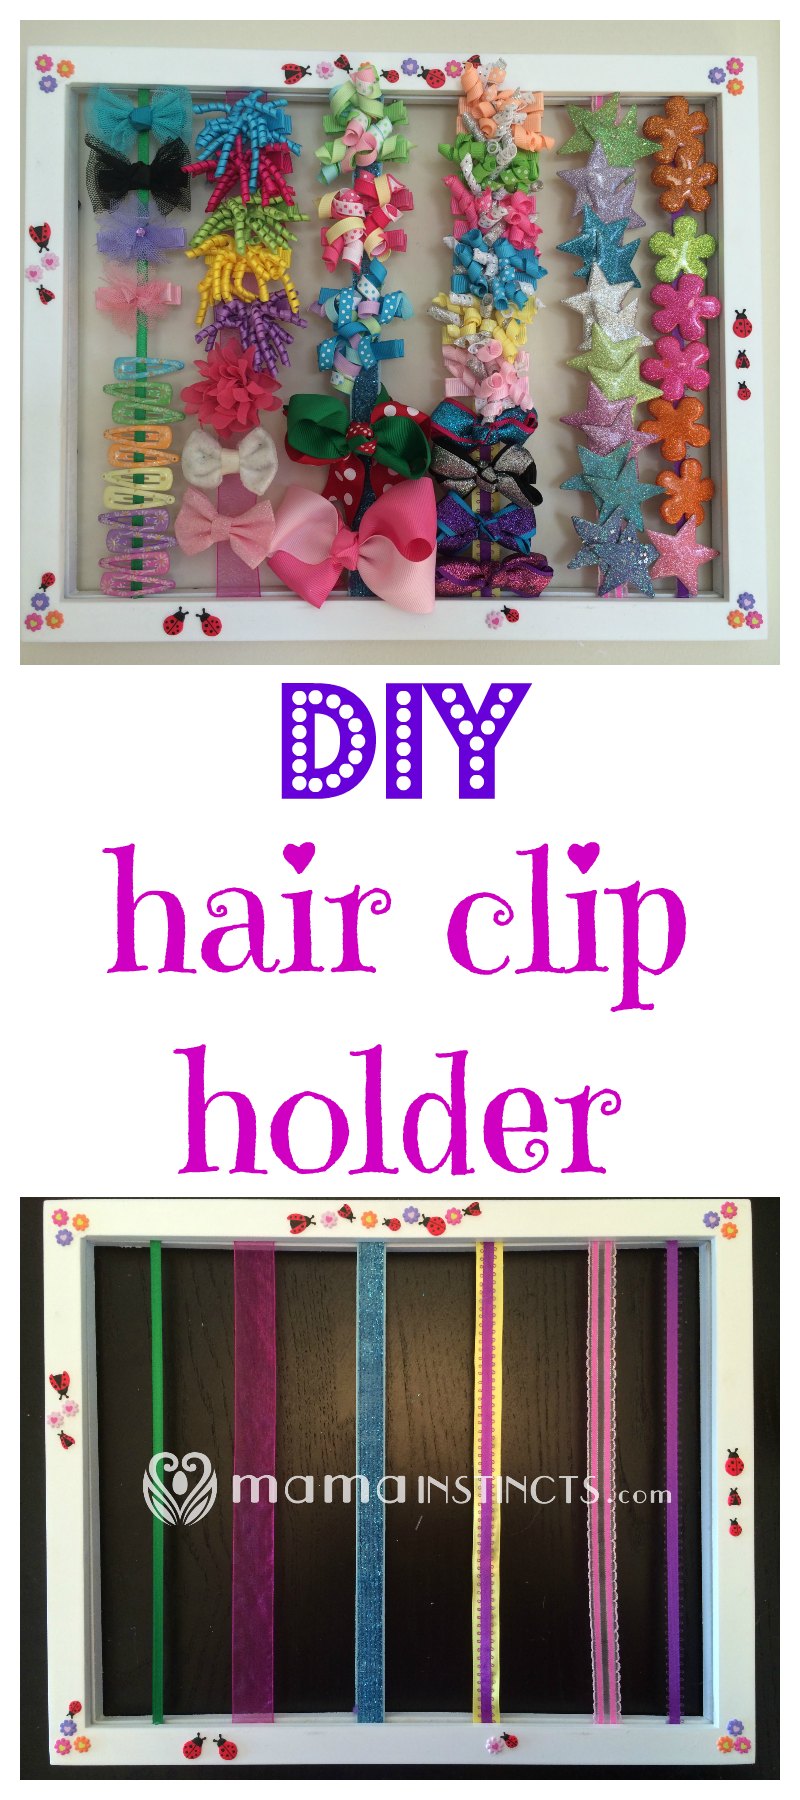
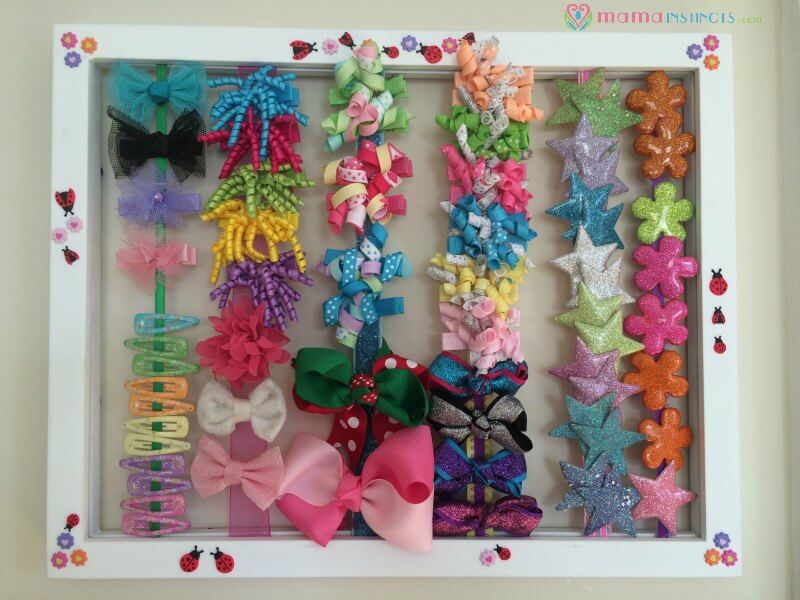
When I had my daughter I didn’t know how many hair clips we would go through! Soon after her hair got long I realized I needed to figure out a better way to store all her those hair clips and that’s when I decided to make a simple DIY hair clip holder.
I’ve had this hair clip holder for over 3 years and my only regret is not sharing it with you sooner. It’s held up great and now it holds clips for both of my daughters. Plus everyone that comes over to our house compliments me on it. It is probably my greatest crafty accomplishment since I’m not too good at DIY projects.
It took me under 10 minutes to make this and if you have older kids you can have them decorate this hair bow holder.
If I was able to pull off, you can too!
Materials:
- Picture frame (I used a 8×10 photo frame)
- Ribbons
- Glue gun
- Decorations (I used small stickers)
- Hair clips (also works for hair bow clips like these)
How to make a DIY hair clip holder:
If your picture frame is not a color you like, the first thing you should do is paint it. I wanted ours to be white so I bought a white picture frame since I didn’t want to paint it.
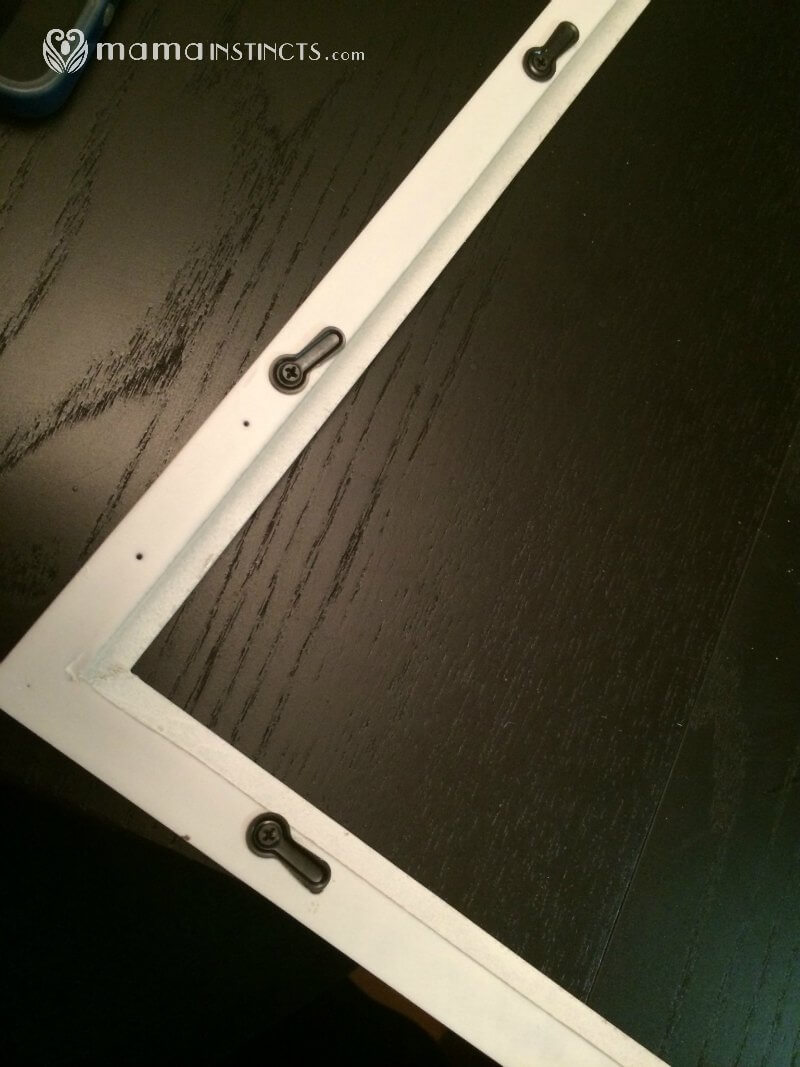
Remove the glass from the picture frame and discard it.
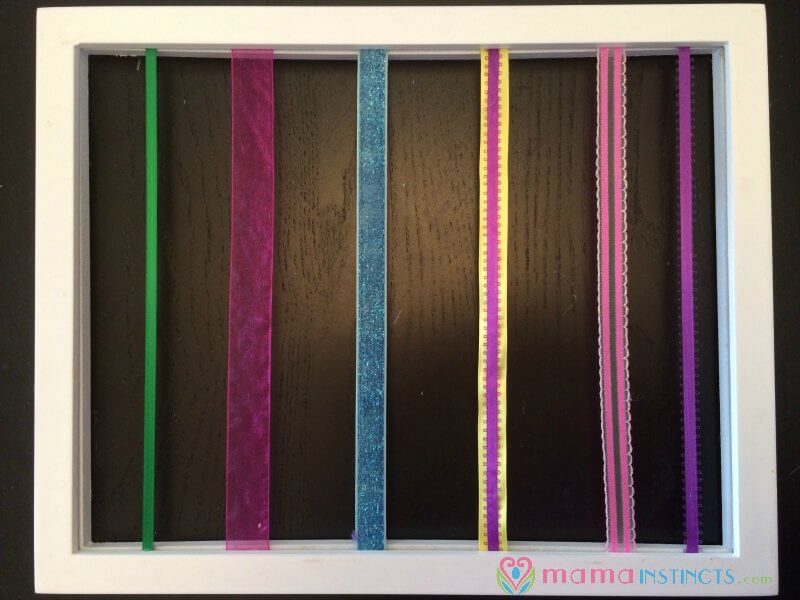
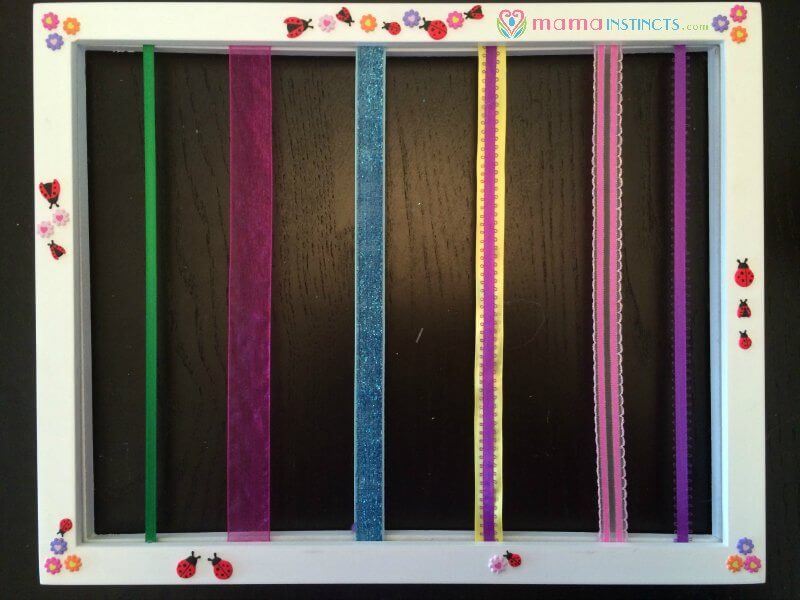
You can use one ribbon or mix it up. I decided to use different types of ribbons for each hair clip row.
Measure the ribbon so it’s the right size. Place the ribbon on the top part of the frame and stretch it until it reaches the bottom part. Add an extra inch and cut it. Cut the rest of the ribbons the same size.
The amount of ribbons you’ll need will depends on the frame size you got. You need to leave about 3 inches between each ribbon. If you don’t have measuring tape, just put a clip in one ribbon and another clip in another ribbon and put them next to each other. Make sure they’re close to each other but not on top of each other.
If you have clips in different sizes you can even try spacing the ribbons differently.
Then use the hot glue to glue each end of the ribbon to the picture frame. Press down hard on each end while it dries. Cut the ends if they’re sticking out a little. You can also use a stapler but when I tried this it broke my frame.
Once the glue is dry you can decorate the frame with stickers or any other decorations you got.
Then you can add all your daughter’s hair clips or hair bow clips.
Yes, it’s that easy!
Let me know if you make one! Tag me on twitter or instagram: @mamainstincts
DIY Hair Clip Holder Creation
Love this idea. I’m going to try to make one. do you leave the frame back on it? if so, do you leave it black or paint (it’s cardboard)? Maybe cover with fabric? Thank you for sharing