With cold winter weather comes dry skin. Once it gets cold and we have the heat on indoors, my skin starts showing signs of dryness. The worst part is always my hands!
Can you relate?
Having the heat on indoors drops the humidity levels in your home and with the cold, dry air of the winter, your skin has difficulty holding on to moisture.
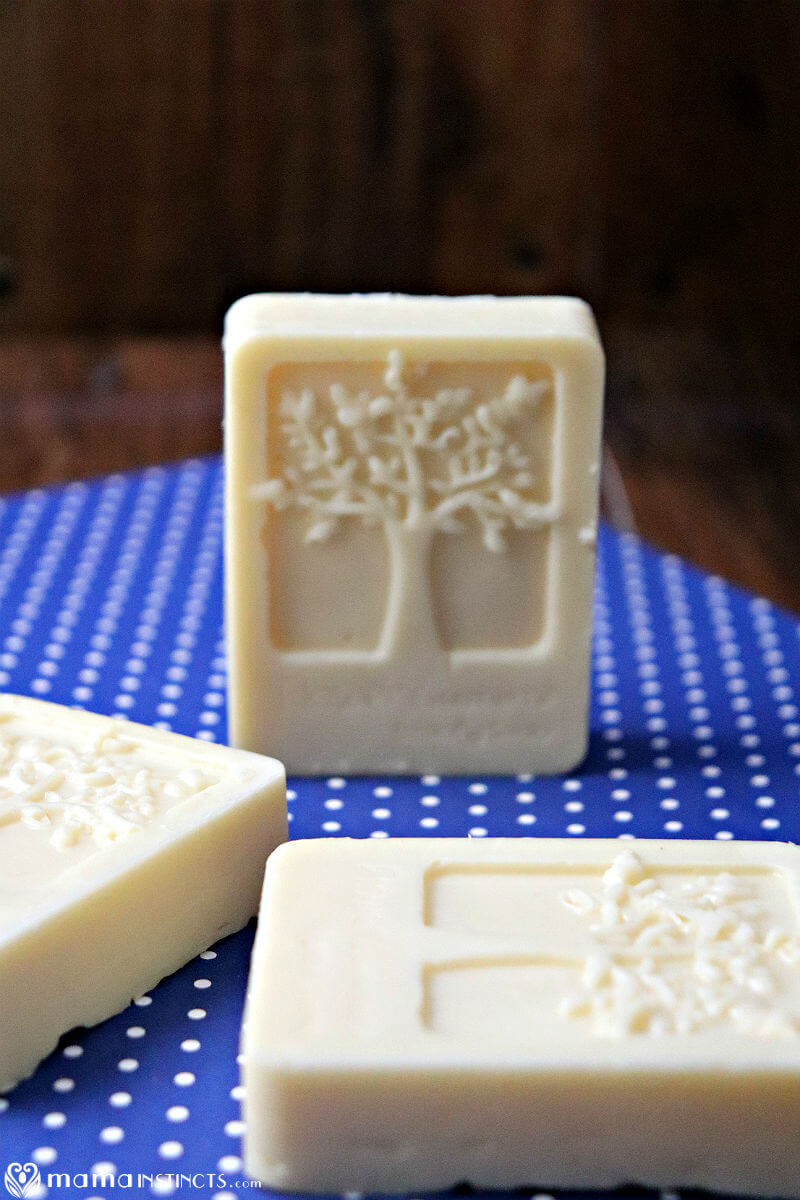
Have you ever heard of lotion bars? Lotion bars are basically a very nourishing body butter in bar form! The can often look like little molded soaps. Lotion bars are solid but when they come in contact with your warm skin they melt just slightly, so that you can apply the nourishing butter all over your body.
The secret with homemade body butter is that you need to apply very little to nourish your skin. Lotion bars are perfect for this because you rub once or twice the area and get enough body butter on it. So it’s less messy than regular body butters and it lasts longer since you don’t end up using more than you need.
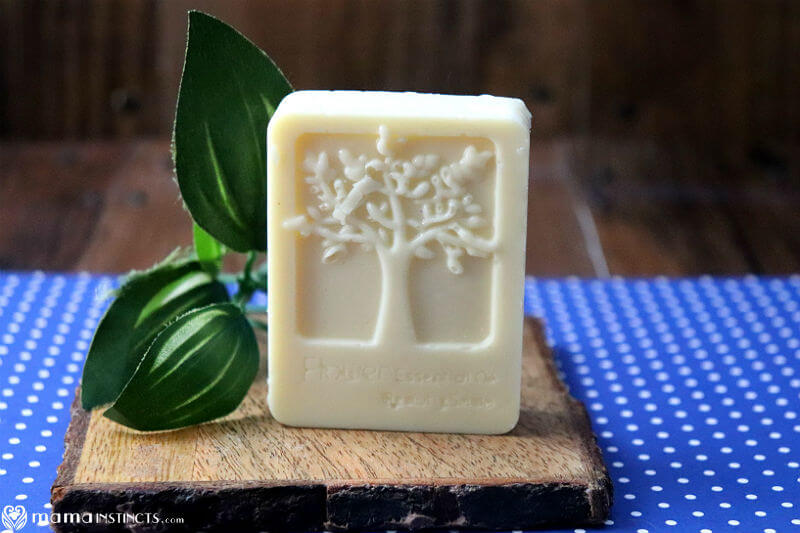
I love making my own DIY products because a lot of body and bath products contain endocrine disruptors and ingredients I simply don’t want near my family. By making your own you can control what’s in the lotion bars and use ingredients that are non-toxic and very nourishing – perfect for dry skin. And that’s why I partnered with NOW Foods for this recipe since I love that they test all the products to make sure they are free of toxic chemicals.
I even make these for my kids – but do keep in mind that if you’re making these for a younger child it’s best to avoid adding essential oils or use essential oils that are safe for kids like lavender or roman chamomile.
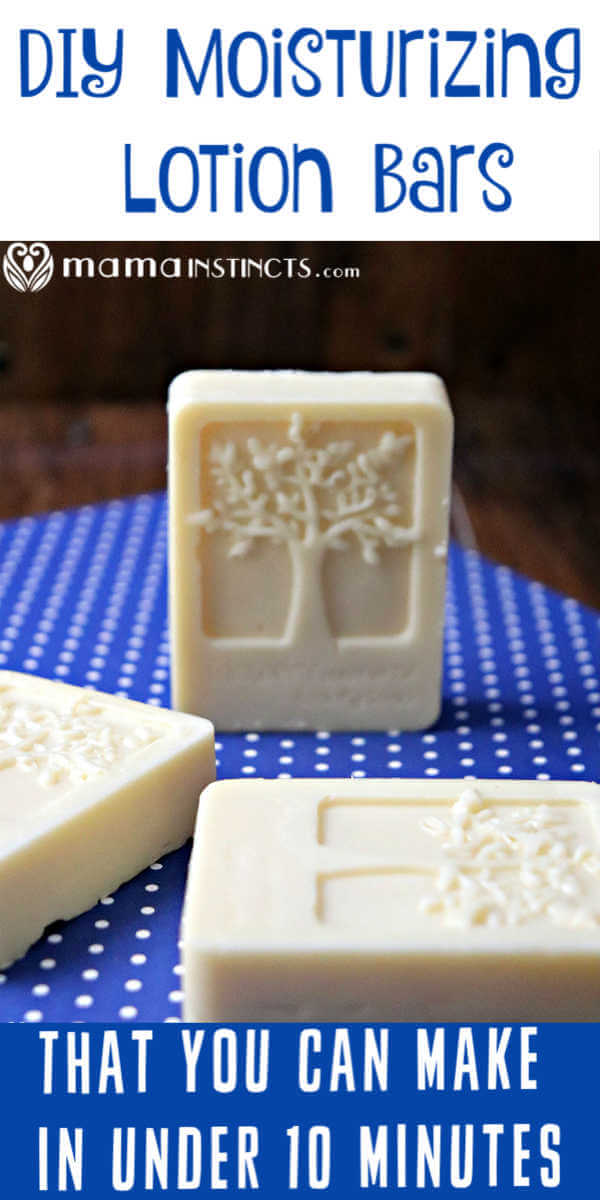
They make great gifts for Christmas, birthdays or just because! I personally love doubling the batch and making these for my friends and family during the winter. One bar usually lasts the whole winter!
DIY Moisturizing Lotion Bars
This recipe makes 4 lotion bars.
Ingredients:
- 1 cup shea butter
- ¼ cup cocoa butter
- 1 cup beeswax
- ½ cup coconut oil
- 1 teaspoon glycerin
- 10-20 drops cedarwood essential oil*
- 10-20 drops patchouli essential oil*
- 10-20 drops chamomile essential oil*
- Silicone rectangle tree mold
*If you don’t like how these essential oils smell, you can use the essential oils of your choice.
Instructions:
For these first steps, I prefer the double boiler method but you could also use the microwave if you needed to.
If you are using the double boiler method, place a pot of water on your stove over medium heat. Place your beeswax into a medium glass bowl (or a large mason jar) and set it in your pot.
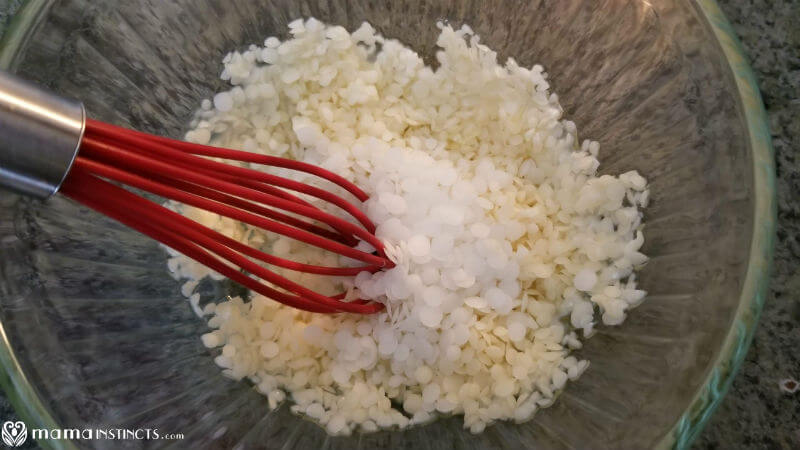
Once the beeswax starts melting a little, add the cocoa butter, followed by the shea butter. Then add the coconut oil.
Stir the ingredients as needed so they all melt. This process is fast and it shouldn’t take long for all your ingredients to melt.
While the ingredients are melting, set your silicone mold in an area where it can be left untouched for 12 hours.
Turn off the heat, add the essential oils. Then add the glycerin in. Whisk everything together.
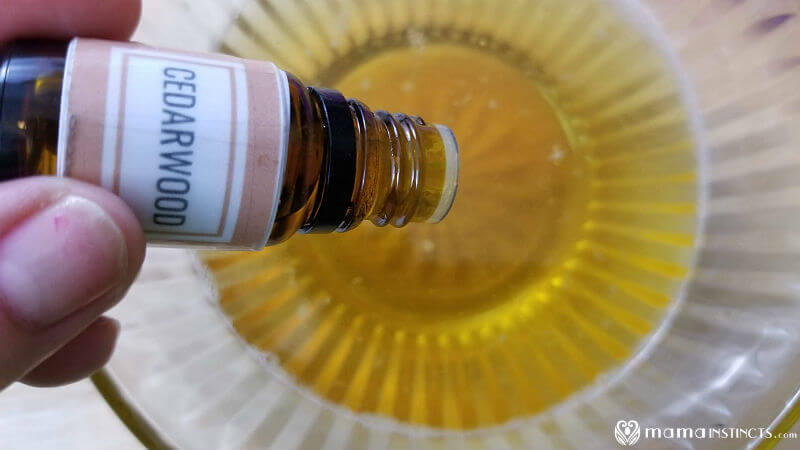
Carefully pour the mixture into your mold and allow it to cool and harden for 12 hours. It will probably harden faster than this but I recommend you waiting to make sure the entire bar is solid.
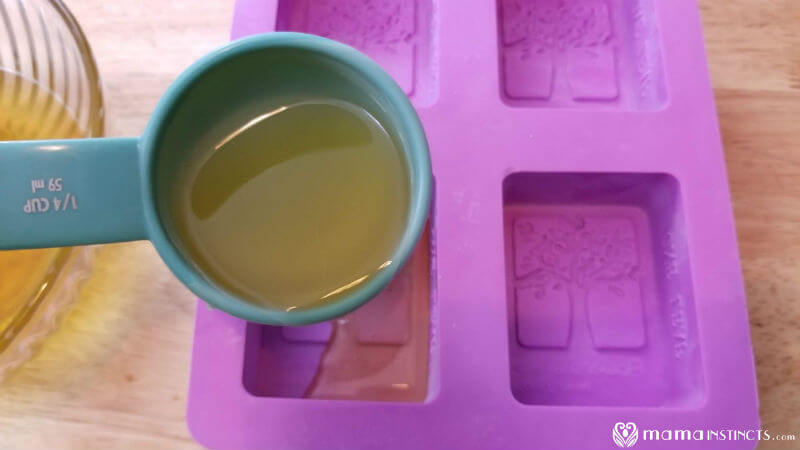
Once they are ready, gently pop the lotion bars from the mold. Store them in an airtight container until ready for use.
That’s all there is to it!
Gifting tip: If you’re making these DIY lotion bars to give as gifts, wrap them in parchment paper. Then cover them with a pretty tissue paper and tie it with a ribbon.
I have liked it
Thank you! I made some a few days ago with lavender, orange and frankincense… I added dried lavender… love them and am happy you have the same recipe I do! Great minds!🥰😍💪
Can these be made without the Shea Butter? I am extremely allergic to shea butter and it is so difficult to find lotions, soaps and many beauty products that do not contain shea butter.
Yes! You can also use cocoa butter or mango butter.