Are your kids obsessed with poop? ? Because mine sure are! Poop jokes and poop toys (did you know how many poop toys are on the market?!) seem to be the hot topic in my home. Of course, we can’t help but laugh right along with them. I know the poop obsession is just a phase and it’s totally normal at this age, so why not embrace it?
You know that I love to DIY everything and my kids love helping me. Melt and pour soaps are a perfect hands-on activity for the littles and the easiest way to make soap bars at home. They’re easy and fun too!
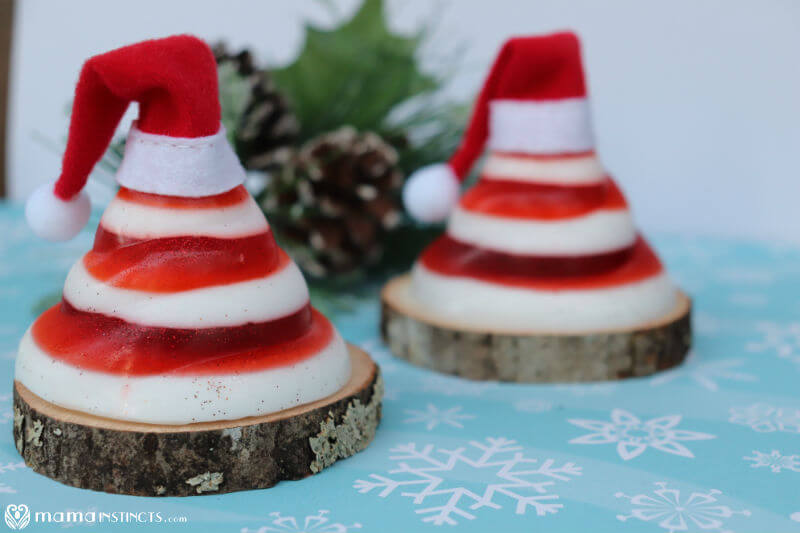
Melt and pour soaps start with a soap base that you melt, customize by adding your preferred ingredients, and then simply pour into a soap mold to harden. Boom, homemade soap!
This Santa Poop Soap Recipe is fun and silly. It’s festive and fun with red and white stripes and my girls love that it is glittery! And I guess it can also double as candy cane inspired soap, if you’re not into the poop jokes. ?
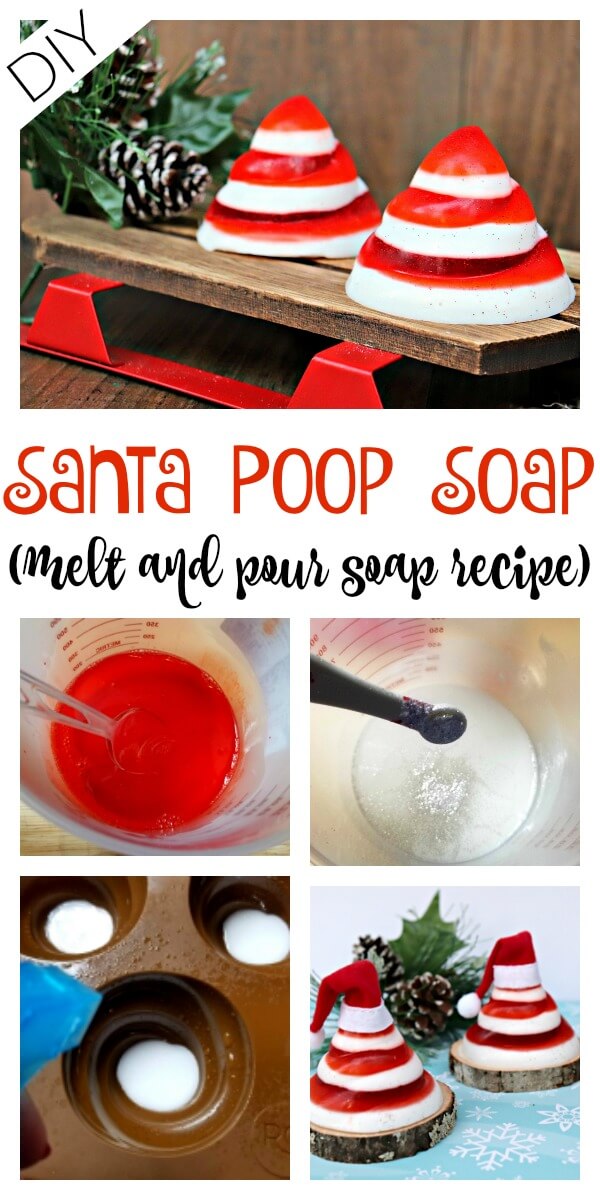
DIY Santa Poop Soap Recipe
Ingredients:
- 1 pound goat’s milk pour and melt soap base
- 1 pound clear pour and melt soap base
- Vanilla essential oil (optional)
- Red coloring or you can use a red mica powder
- Red cosmetic glitter (optional)*
- White cosmetic glitter (optional)*
- Poop soap mold
- Spray bottle with rubbing alcohol
*Note: we don’t put glitter on the Santa poop soap if we plan to use it to wash our bodies.
Instructions:
To make this soap, you will need to make layers of each color of soap, alternating between the white layer and red layer. This means it will take a while to make this soap since you need to wait for each layer to harden. My advice is that you set up a section in your kitchen when you can leave this out for a few hours.
If you got the soap bases I recommended, start by cutting them in half since you only need 1 pound of each soap. Then cut one half of the clear soap base into squares and then do the same for the goat’s milk soap base. Now divide the cubes into 3 piles, since you will be making 3 layers using the goat’s milk soap and 3 layers using the clear soap.
For the first step, you will need to melt the soap. You will start by making a red layer, so melt one of the 3 piles of the clear soap. I prefer to melt the soap using the double boiler method but you could also use the microwave.
If you are using the double boiler method, place a pot of water on your stove over medium heat. Put your soap cubes into a medium glass bowl (or a large mason jar) and set it in your pot. Stir the soap base until it is melted.
If you are using the microwave, melt to soap cubes in 30 second intervals. Stir and repeat until your soap base has melted.
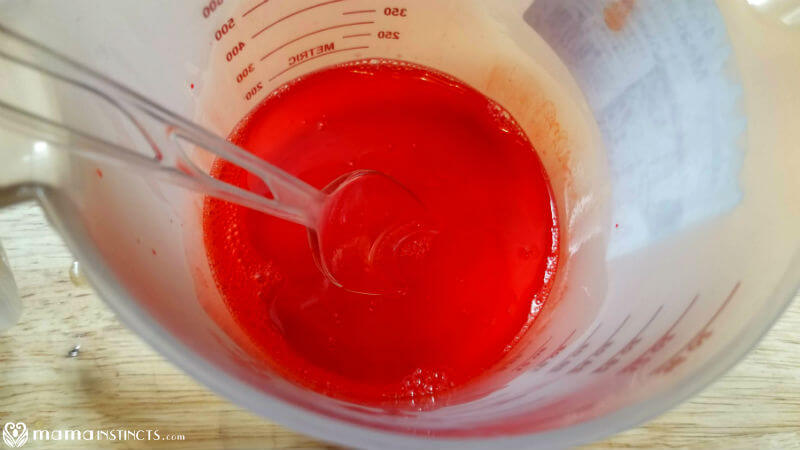
Once the soap has melted add 4 drops of the vanilla essential oil, if you’re using any. Then, add 1-2 drops of red coloring to the bowl or a dash of the coloring powder, if that’s what you’re using.
Thoroughly mix the color into the soap mixture. If the color is not red enough, add a little bit of coloring at a time and mix until your desired color is reached. Be sure to pay attention to the number of drops you used so that you can match the other red layers.
Add the red glitter, if you’re using any, and gently blend into the soap mixture. Add enough glitter so you can see it in the mixture but not so much that that is all you see.
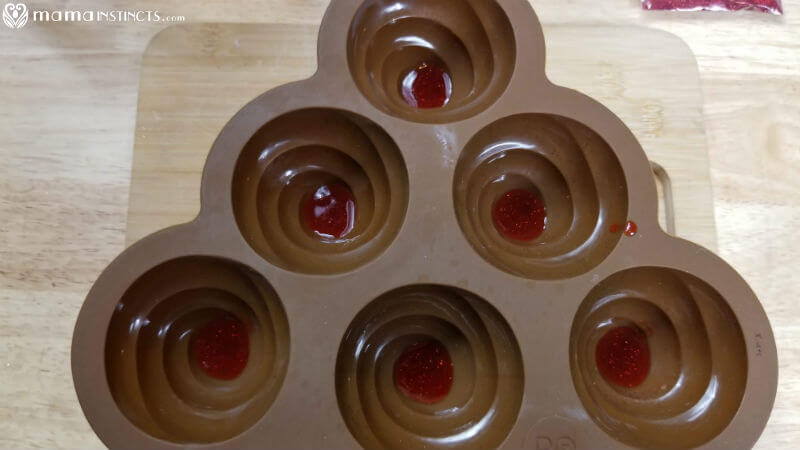
Spray the bottom of your mold with rubbing alcohol and carefully add 1 teaspoon of the red soap mixture into the mold. Spray the mixture in the mold with rubbing alcohol to remove bubbles.
You know when you are able to add the next layer by blowing on the soap. If it doesn’t ripple, you’re good to add on the next layer.
Now it’s time for the second layer, a white layer.
Add 1/3 of the goat’s milk cube to your glass bowl and melt in the same manner as above. Once it’s all melted, add 4 drops of Vanilla essential oil, if you’re using any.
Add the white glitter and gently blend into the soap mixture.
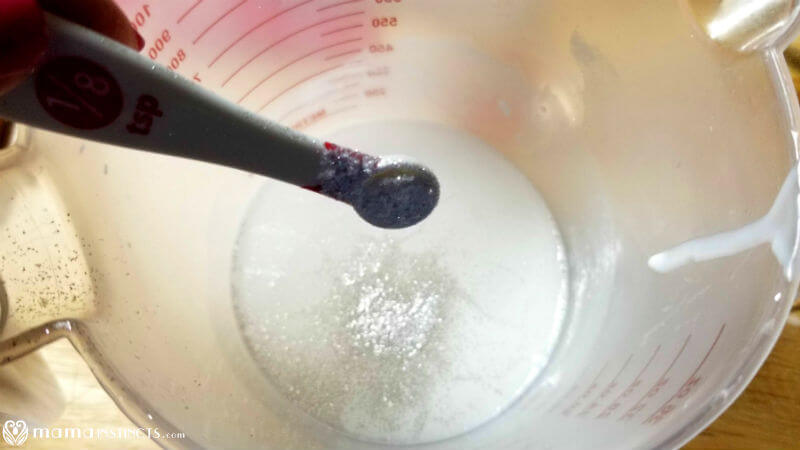
Spray the red layer with rubbing alcohol again, this helps the layers stick to one another. Carefully add 2-3 teaspoons of the white soap mixture into each mold. Spray the with rubbing alcohol to help remove bubbles.
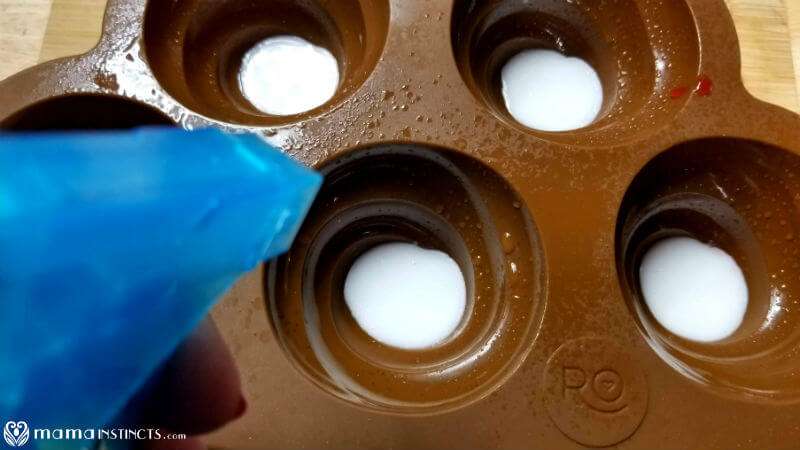
Allow to harden at least 30 minutes. Make sure there are no ripples when you blow on the surface of the white layer before adding the next layer.
Repeat this process for the remaining layer, alternating red and white until you have filled the mold. As the width of the mold gets larger, you will have to add a bit more of each color for your layers to have the same thickness. Use the mold as a guide. You could also vary the amounts used to have layers of different thicknesses if you would like.
Once you have filled the mold with all the layers of soap, allow to set overnight and then carefully pop the soaps from the mold.
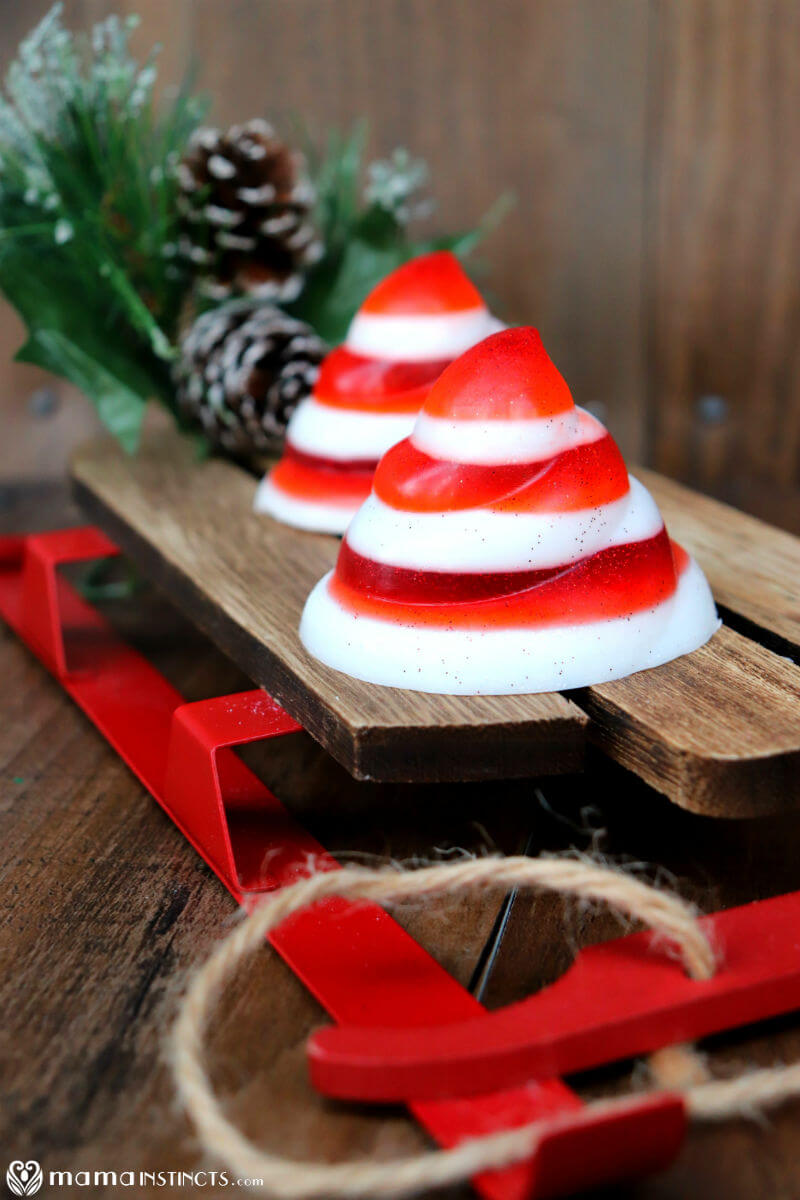
Store your soaps in an airtight container until you are ready to use them.
You can make Santa soaps with this layered effect using any soap mold you like if you don’t have the poop soap mold. You may need to adjust the amount of soap you need depending on how big your molds are. The important thing is to have fun!
These Santa Poop soaps are really fun to keep in your guest bathroom and bring the Christmas spirit into your home. They also make great gifts, especially for little kids!
DIY Santa Poop Soap Recipe Creation
Leave a Reply