Have you ever heard of lotion bars? When I started making these for my friends and family they kept asking me what’s a lotion bar because they’ve never heard of it but once they started using it they were hooked.
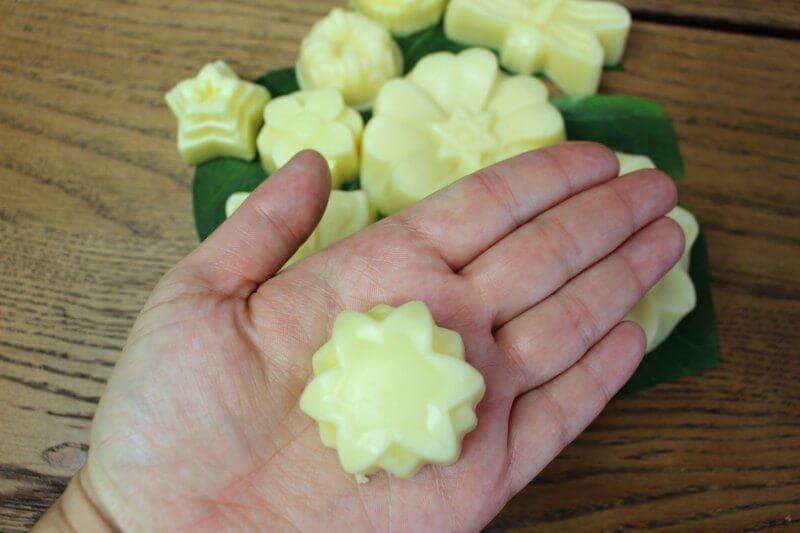
Lotion bars are basically body butter bars and they look like a soap bar. Instead of applying lotion like you usually do, where you put it in your hand and then rub it in your body, with a lotion bar all you have to do is rub the bar all over your body. It’s that simple. They’re so convenient to use and less messy than using body butter.
This post contains affiliate links, which means if you buy from the links in the post I’ll get a small commission without this affecting the price you pay. I really appreciate it since it helps to keep this blog up and running.
Lotion bars are solid but when they come in contact with your warm skin they melt just enough so that you can apply this nourishing butter all over your body. I started making the bars because when I made body butter for my friends they would apply too much and end up with very greasy skin.
The secret with homemade body butter is that you need to apply very little to nourish your skin. Lotion bars are perfect for this because you rub once or twice the area and get enough body butter on it. So it’s less messy than regular body butters and it lasts longer since you don’t end up using more than you need.
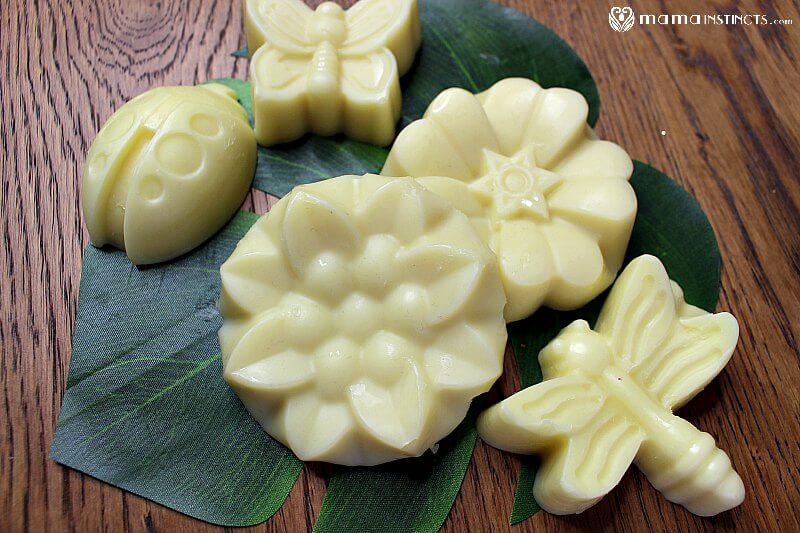
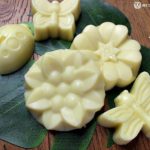
What I love about the body butter bars is that you can use silicone molds to make them in different shapes and different sizes. My favorite molds are these because they come in a set with flowers for the adults and bugs for my kids. You can even the smaller mold if you want to make these in smaller quantities – the smaller ones the perfect size for babies.
How to store lotion bars?
You can make a big batch and store them in a glass jar until you need to use one.
Once you start using the lotion bar, transfer it to small glass plate or bowl and keep it in the bathroom or bedroom. This way you can apply the lotion bar all over your body. Place it back on the plate when you’re done.
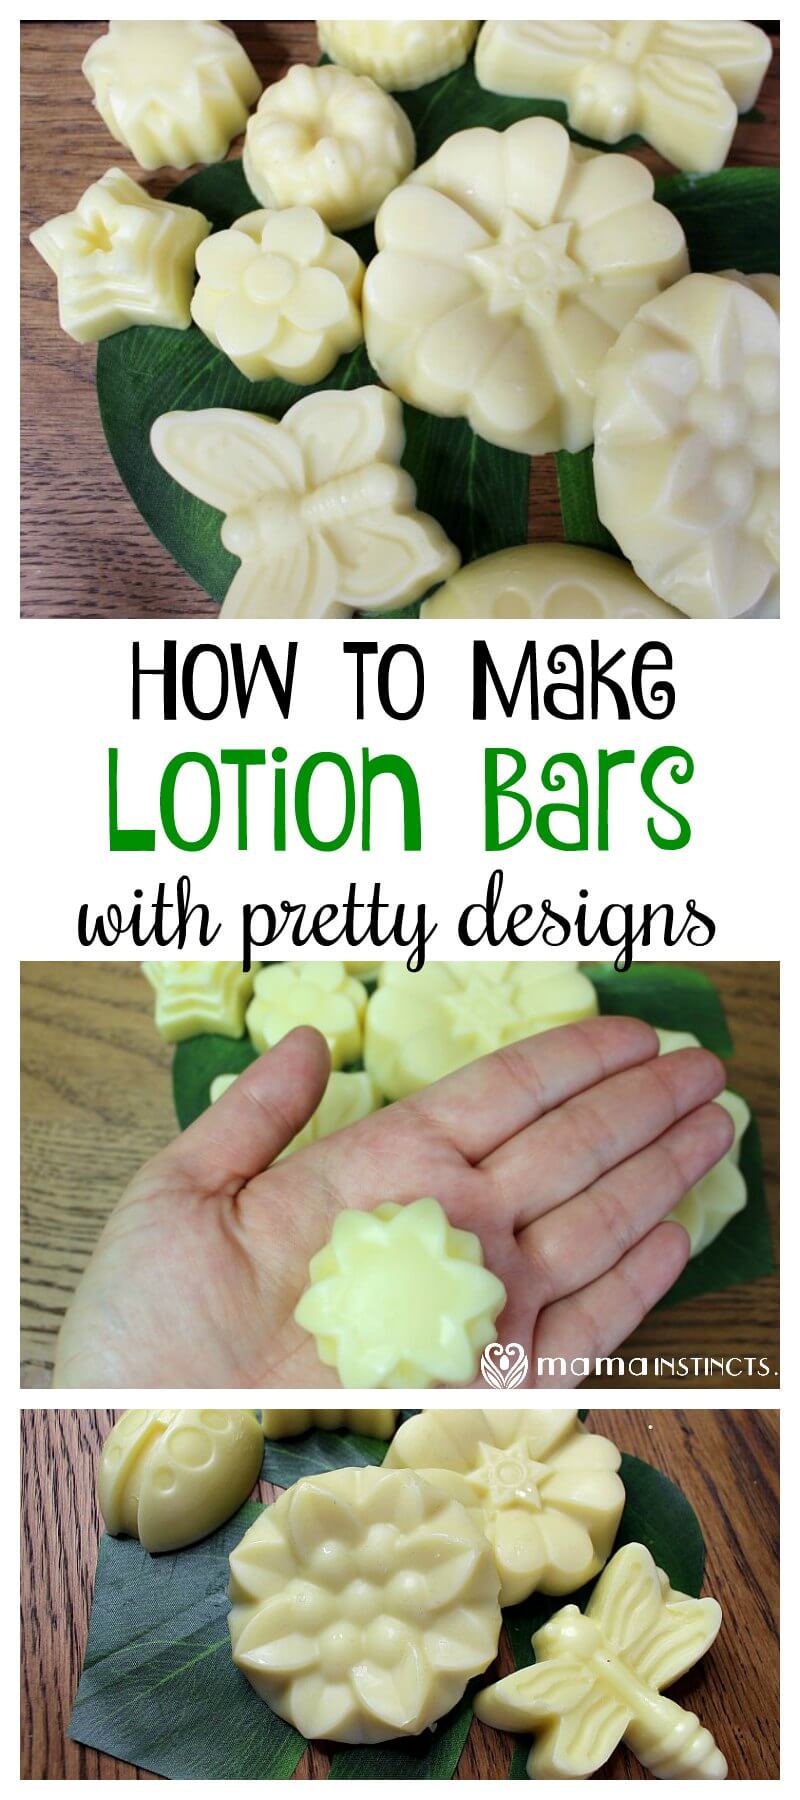
How to Make Lotion Bars with Pretty Designs
Ingredients:
- Silicone molds
- 3/4 cup mango butter or cocoa butter
- 1/2 cup + 2 tablespoons beeswax pellets
- 1/4 cup coconut oil*
- 1/4 cup grapeseed oil*
- Optional: You can scent this lotion bars with the essential oil of your preference. We like to scent them with:
- 8 drops of Roman Chamomile essential oil
- 8 drops of lavender essential oil + 10 drops of vanilla essential oil
- 8 drops of sweet orange essential oil + 10 drops of vanilla essential oil
*If you don’t have these oils you can substitute for other nourishing oils like olive oil, jojoba, safflower, etc, or just use 1/2 cup of coconut oil. Regardless of the oil you use, you will need a total of 1/2 cup of a nourishing oil.
A note about beeswax: if you’re making these during the summer and your house stays pretty warm, you can add more beeswax pastilles so the lotion bars don’t melt if you leave them in a hot place. You can add anywhere from 1 teaspoon to 1 tablespoon.
Directions:
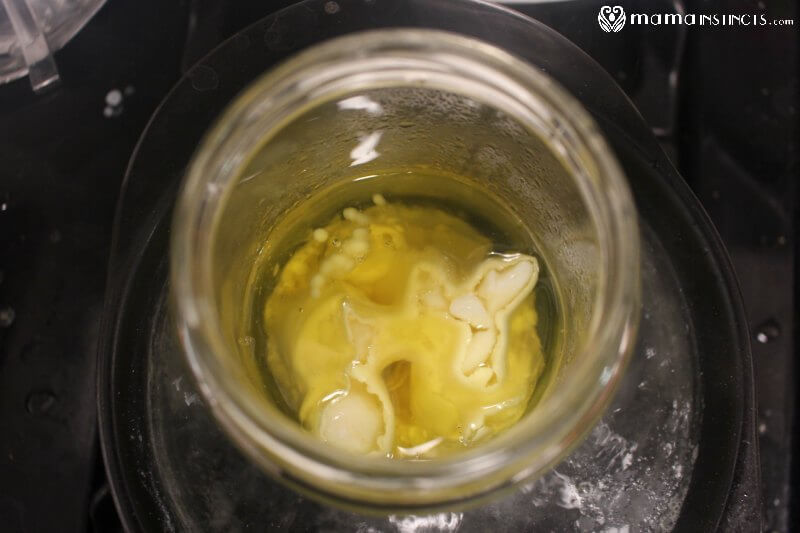
You will need to melt the ingredients first. You can do this in your microwave or using the double boiler method. I prefer using the latter since we don’t like using microwaves.
In a small glass jar add the beeswax and cocoa or mango butter. Place this jar inside a small pot with water and heat using medium/low heat.
While the ingredients are melting set the silicone molds in an area where you can leave them untouched for about an hour, until the lotion completely hardens. I personally make these at night so my kids are not tempted to touch them and I take them out of the molds the next morning.
Once the ingredients are halfway melted, add the coconut and grapeseed oil or whatever nourishing oil you’re using.
Stir the ingredients occasionally as they’re melting. Once they’re completely melted, turn off the heat and add the essential oils, if you’re adding any.
Pour the mixture in your silicone molds and wait for it to harden.
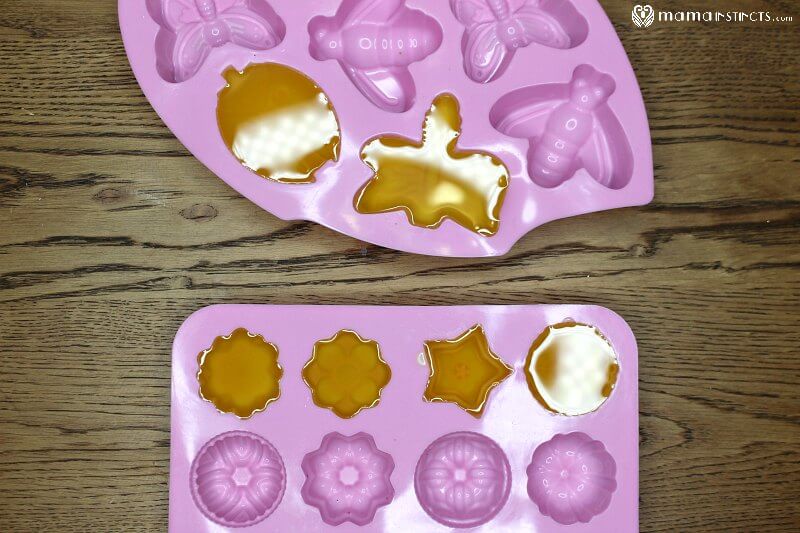
They should be hard in about an hour but it will depend on the size of the bar you’re making. If they’re pretty big I would wait a couple of hours.
Once the mixture has completely hardened, press the back of the silicone molds and they will poop right out. They come out very easy and so pretty looking!

Store them in an airtight glass container and grab one as needed. If you’re going to have several family members use these bars, I recommend you give each person their own lotion bar.
Rub all over your body daily or as needed. It will make your skin feel amazing and so nourished.
Enjoy!
Lotion Bars with Pretty Designs Creation
Save this recipe for later by pinning this image:
Can I replace the cocoa/mango butter with shea butter? Or is that too soft?
Yes you can! I just prefer the smell of the cocoa / mango butter. If you’re house stays pretty warm then add a little more beeswax when using Shea butter.