I cannot tell you how many times we have made calm down bottles! My kids are obsessed and it is one of their favorite activities to make.
There is something about watching glitter with little toys fall in slow motion… it is calming in a way that is hard to explain but easy to feel, and it works on kids and adults alike. It also makes for an affordable toy that keeps the kids entertained for hours, and it is so easy to customize for any season, holiday, or just with whatever you have available at home.
There is something else I love about them too: they are one of those rare crafts that are actually useful. This is not just a pretty thing to make and set aside. A calm down bottle is a real tool for big emotions, and once your child has one and knows how to use it, you will be glad you took the time to make it. In fact, you might end up with many calm down bottles – it is one of my kids’ most loved crafts!
The problem is that not every time we make calm down bottles does it come out right. There are so many ways to make them that it can get confusing. Sometimes the glitter moves too fast, sometimes too slow, or it gets all foggy.
There is a science to making calm down bottles, and once you understand the basics, you can customize endlessly without ever ending up with a bottle that does not work. Time after time I have found myself using the same recipe and just changing up what I added to the bottle. It has never failed me, and that is why I want to share it with you.
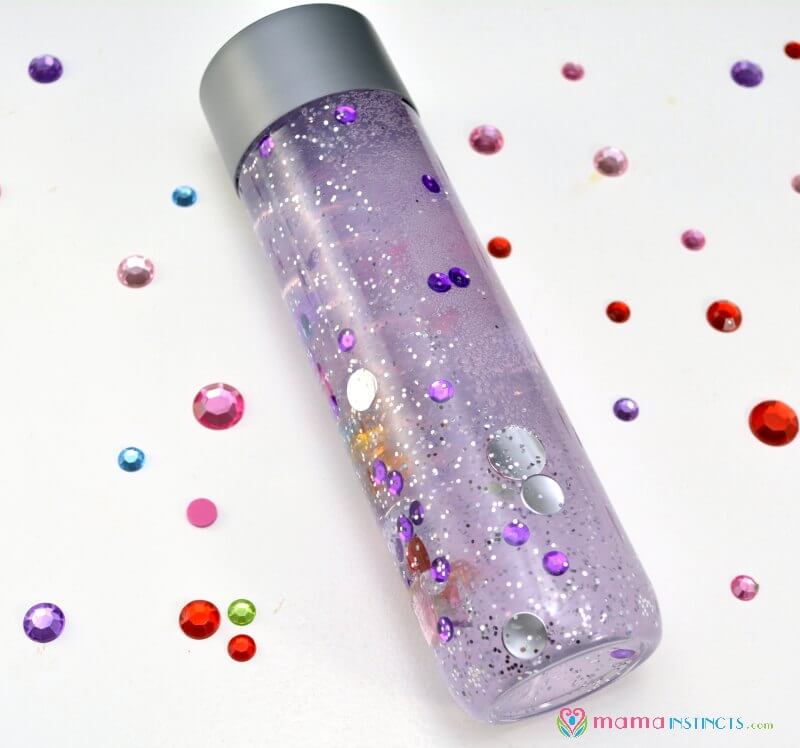
What is a calm down bottle and why does it work?
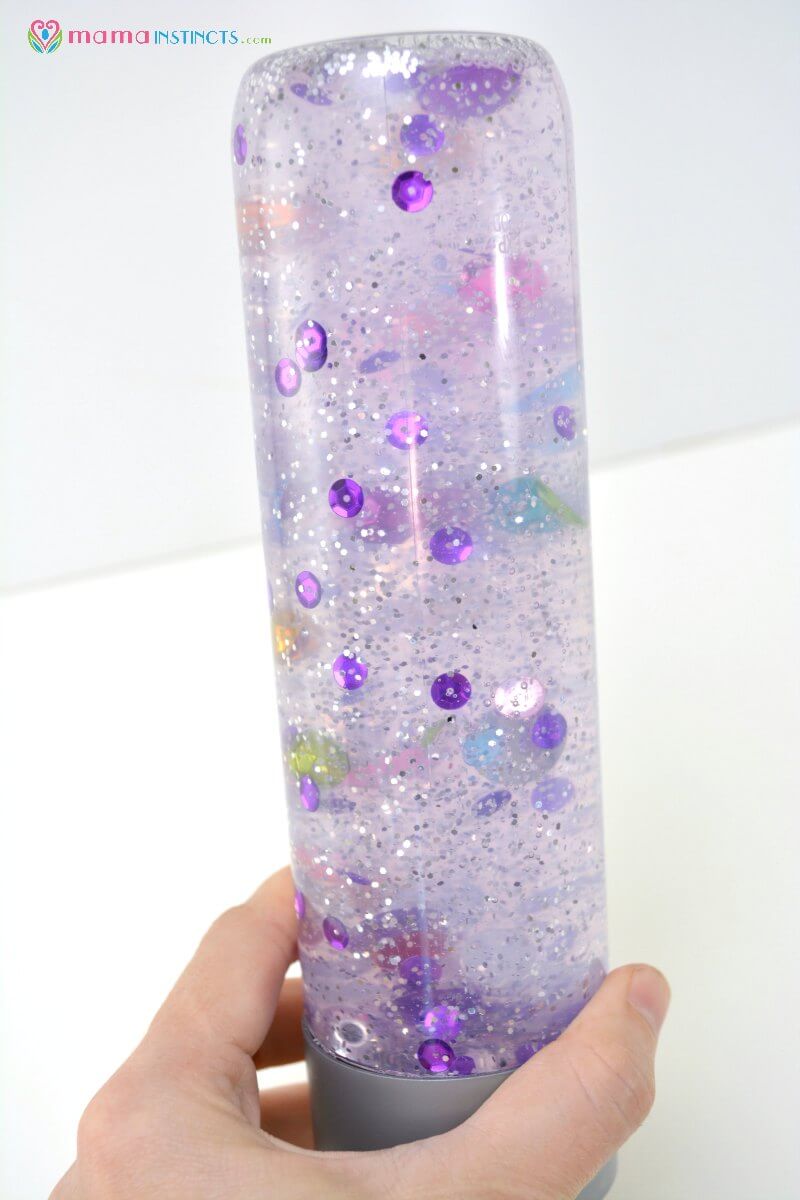
A calm down bottle, also called a sensory bottle or glitter jar, is a sealed container filled with a slow-moving liquid and glittery or shimmery objects that float and swirl when the bottle is shaken. Children shake it, then watch and wait as everything slowly settles back to the bottom. It is traditionally used as a tool to help kids regulate their emotions during hard moments, and it genuinely works for that, but in our house it has always been so much more than that.
My kids have made so many of these over the years, and most of the time they are not upset at all when they reach for one. Part of the magic honestly starts with making it! Letting kids choose their own glitter, their own gems, their own little treasures to put inside makes the whole process exciting, and a child who helped make their bottle already has a connection to it before they ever need it.
We have had sensory bottles sitting around the house forever that the girls would just pick up and play with on a perfectly happy afternoon, because there is something genuinely entertaining about shaking a bottle and watching everything swirl around.
And that is actually the best thing that can happen, because a child who already loves their bottle and plays with it regularly is so much more likely to reach for it naturally when big feelings do show up.
When those harder moments come, children are flooded with big emotions; their nervous system goes into overdrive. Their heart rate increases, their breathing gets shallow, and the thinking part of their brain essentially goes offline. In those moments they cannot listen, reason, or learn, they can only react.
The slow, repetitive movement of the glitter gives the nervous system something gentle to track. It naturally draws the eyes, quiets the mind, and creates just enough of a sensory anchor to help a child begin to come back down. Research in sensory processing and nervous system regulation supports the idea that slow, calming visual movement can help activate the body’s rest-and-calm response, which is why you will often see a child who is mid-meltdown just… stop and stare at it.
If you want to go deeper on emotional regulation and what children actually need during big feeling moments, I have a full guide on filling your child’s emotional cup that is worth reading alongside this one.
Who are calm down bottles for?
The short answer is: almost everyone, and not just when they are upset. My kids have grabbed these on perfectly happy afternoons just because they wanted to shake something sparkly and watch it settle, and the process of making them is just as much fun as using them. That is actually the best case scenario, because a child who already loves their bottle is so much more likely to reach for it when they genuinely need it.
Here is a rough breakdown by age:
Babies and toddlers (6 months to 3 years): Even babies love tracking the movement inside the bottle. For toddlers who are just starting to experience big emotions and have no regulation tools yet, the bottle gives them something physical to do with their hands and something calming to look at. Plus they think it is pretty, and that is enough.
Preschoolers and early elementary (3 to 7 years): This is the sweet spot. Children this age love making them, love playing with them, and are old enough to start understanding that the bottle can also help when feelings get big. Many children will naturally start to time their breathing to the glitter without ever being told to.
Older kids and tweens (8 and up): Works beautifully for kids who are resistant to traditional calming strategies. There is no pressure, no conversation required, just shake and watch. Smaller bottles work well for backpacks and desks at school.
Adults: Stress is stress. Keep one on your desk. No explanation needed.
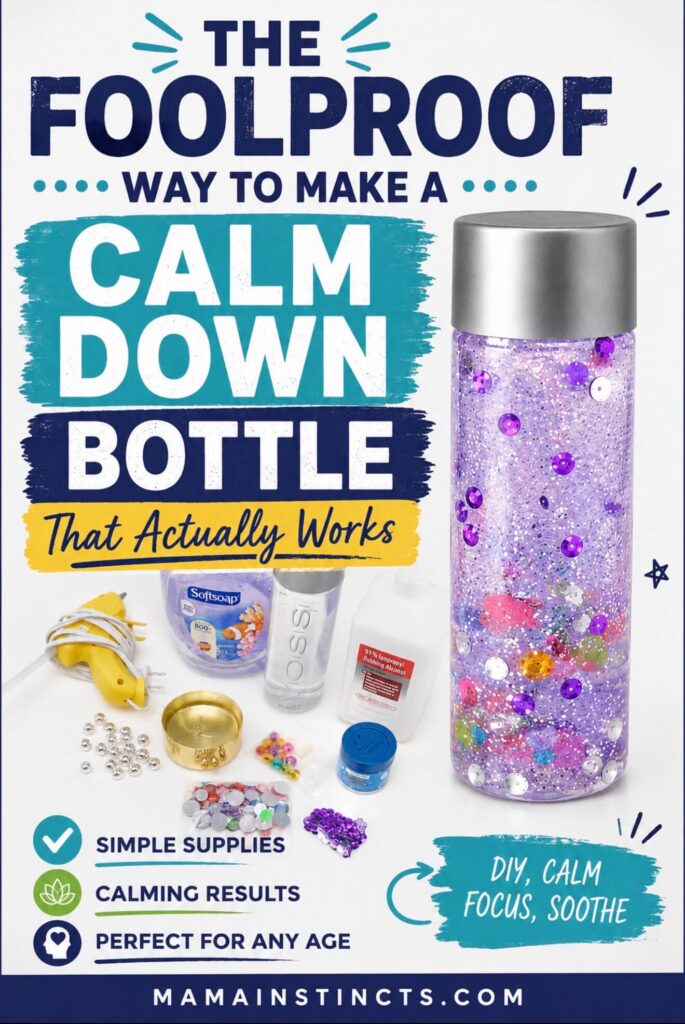
The Foolproof Way to Make a Calm Down Bottle
What you need:
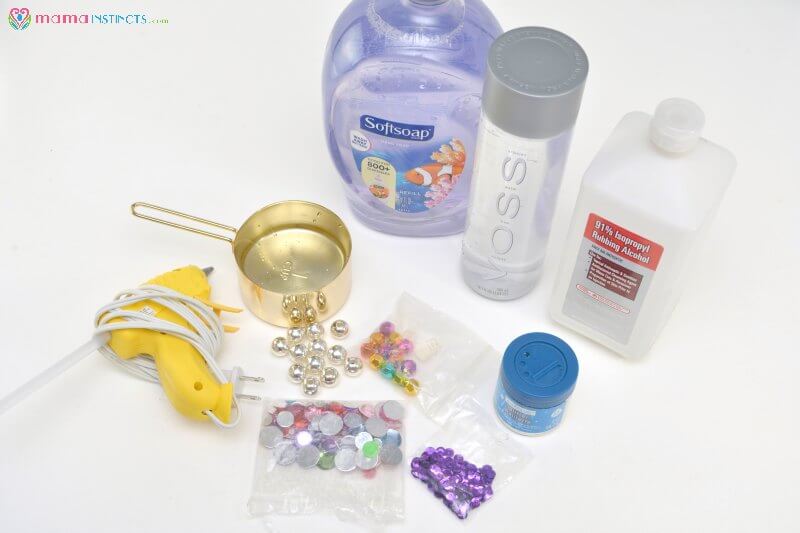
- A sensory bottle or a 850 ml VOSS water bottle
- Rubbing alcohol (to remove the glue residue from the label on the bottle)
- Clear hand soap
- Glitter and/or holographic glitter
- Decorations: Craft gems, beads, sequins, tiny butterflies, tiny animals or any other small craft decoration you have at home
- Water
- Funnel
- Low temp, kid-friendly, glue gun
How to make it: step-by-step
Note: If you are making this with children, have them help choose the decorations and pour in the glitter. Making the bottle together gives them a sense of ownership over it, which makes them more likely to reach for it when they need it.
Prep the bottle: If you are using a VOSS water bottle, drink the water, remove the label, and use rubbing alcohol on a cloth or paper towel to scrub off any sticky residue from the sticker. Dry it completely before moving on. If you purchased a sensory bottle that is already clean and ready to go, you can skip this step entirely and jump straight to adding your ingredients.
Add the water: Fill the bottle with 3/4 cup of warm water. For the VOSS bottle, that is roughly one quarter of the bottle, so use that as your visual guide if you are working with a different size.
Whatever bottle you are using, you want about one quarter (1/4) water and the rest soap. Warm water helps the soap mix in smoothly without creating too many bubbles.
Note: it is 3/4 cup of water, not 3/4 of the bottle. Several readers have made this mistake and ended up with a bottle that was too thin, so I want to make sure this is clear!
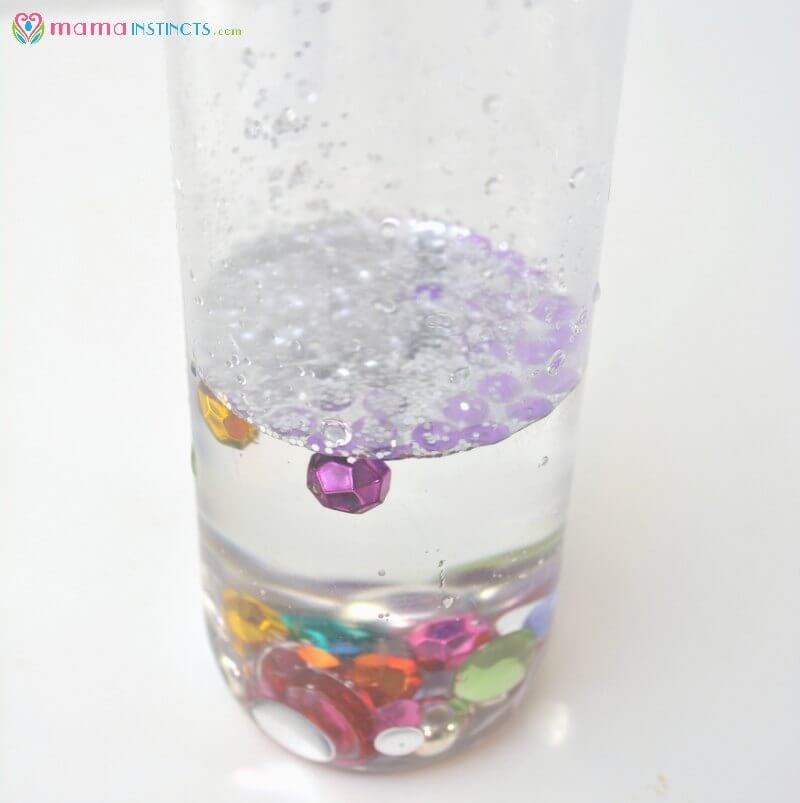
Add your decorations: Drop in your glitter, gems, beads, sequins, or whatever you are using. Use a funnel if you have one, especially for smaller beads. This is the fun part, let the kids go wild!
Fill with soap: Fill the rest of the bottle all the way to the top with the clear liquid hand soap. Getting it as close to the top as possible is important because the bottle works best with minimal air inside. Air creates bubbles, and bubbles make it harder to see the glitter.
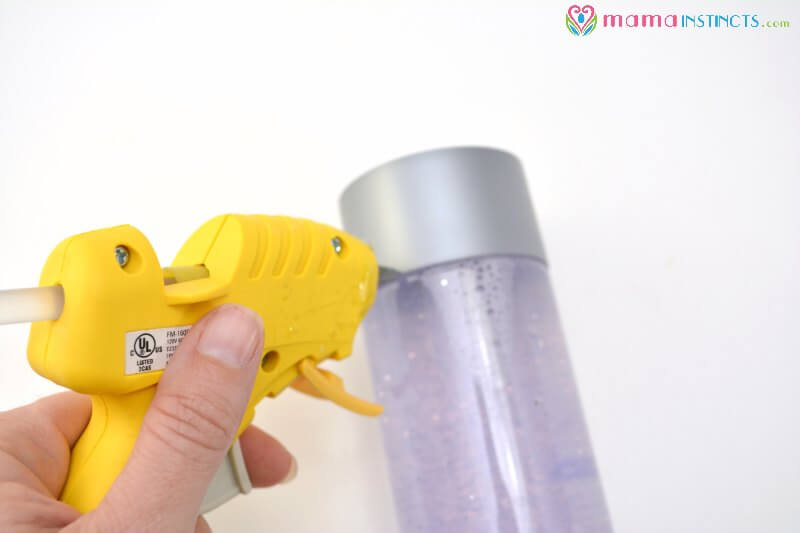
Test it: Put the lid on and give it a good shake. Turn it over, watch it settle, adjust the thickness if needed. If it moves too fast, add a little more soap. If it feels too thick, add a small amount of water. This is the time to make any adjustments before you seal it.
Seal the lid: Once you are happy with how it looks, secure the lid tightly with your low temp glue gun, running glue around the entire edge of the lid. This prevents leaks and prevents curious kids from opening it. Let it dry completely before handing it over.
How to introduce the calm down bottle to your child
This is the step most tutorials skip, and it is the one that determines whether the bottle actually becomes a useful tool or just sits on a shelf.
Introduce it during a calm moment, not a crisis. Sit down together when everyone is relaxed. Show your child how to shake it and watch it settle. Let them hold it and explore it without any pressure or agenda attached to it. The goal is to build a positive association with the bottle before they ever need it for regulation.
You can say something like: “This is our calm down bottle. Whenever things feel really big and hard, you can shake it and watch the glitter settle. Sometimes it helps our bodies and our brains slow down too.”
Then practice it together. Shake it, breathe slowly together while you watch it settle, and keep it light and playful. The more times they use it in a calm state, the more natural it will feel to reach for it when they are upset.
When a big moment does happen, you can gently offer it without forcing it: “Do you want to shake the calm down bottle?” Some children will grab it immediately, others will resist at first. Both are fine. Keep offering it consistently and eventually it will click.
A note on age: younger toddlers may not understand the concept of using it intentionally as a regulation tool just yet, and that is okay. Even just holding and watching the bottle has a naturally calming sensory effect. The intentional use develops over time.
Ways to customize your bottle
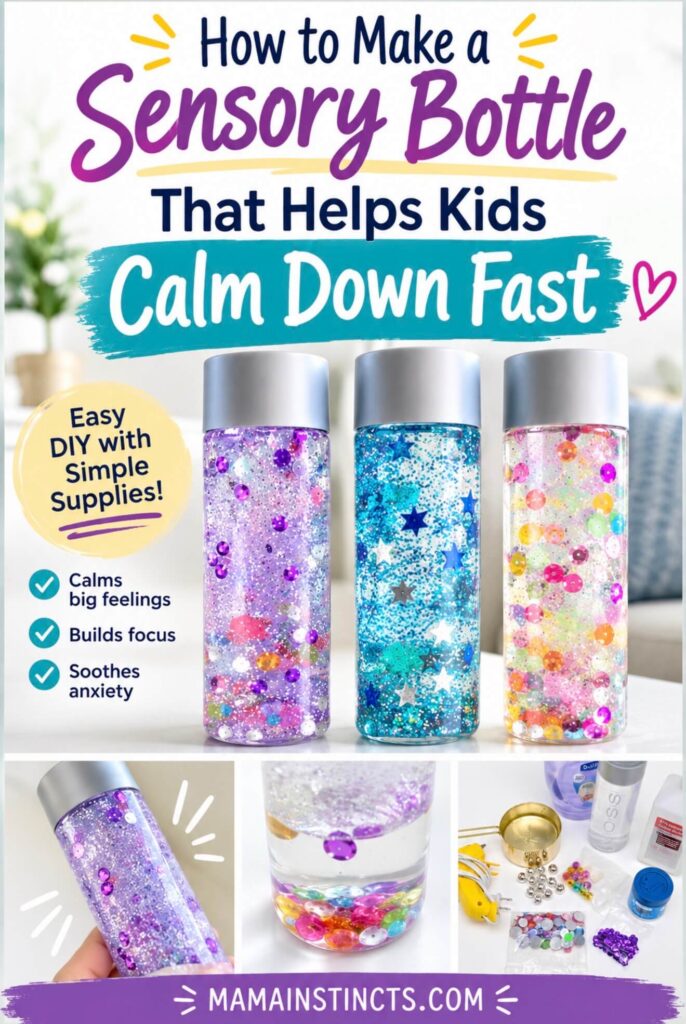
One of the things I love most about this recipe is how easy it is to change up the theme without changing the base. Here are some of our favorites:
- Ocean theme: Blue glitter, tiny shells, small fish beads (or these), teal sequins.
- Galaxy theme: Black or dark blue tinted water with silver and purple glitter, tiny star sequins or moon & star ones.
- Holiday theme: Red and green glitter with tiny holiday ornament beads for Christmas, orange and black for Halloween.
- Unicorn theme: Pink and purple glitter, iridescent sequins, tiny heart beads.
- Nature theme: Green tinted water with tiny leaf and flower beads, brown and gold glitter.
- Birthday theme: Confetti, number beads (or glow-in-the-dark ones), rainbow glitter, a great party activity or gift.
- Color theme: Pick your child’s favorite color and go all in on it, monochromatic bottles look stunning.
You can also add food coloring to tint the water if you want a more dramatic look. Just add it sparingly, a drop or two goes a long way, and know that some glitter colors may shift slightly over time if the water is tinted.
If you love sensory bottles, I also have a rice sensory bottle version that is great for babies and toddlers and doubles as a sensory bin. Check it out here!
A fun bonus idea: try it with a tap light
One of our readers shared a genius tip in the comments: place your calm down bottle on top of a tap light and turn off the overhead lights. The light shines up through the bottle and makes the glitter absolutely magical. It has become our favorite way to use them at home, especially at bedtime when things need to slow down anyway. Highly recommend trying this!
Troubleshooting and FAQ
My glitter keeps clumping at the bottom. What do I do?
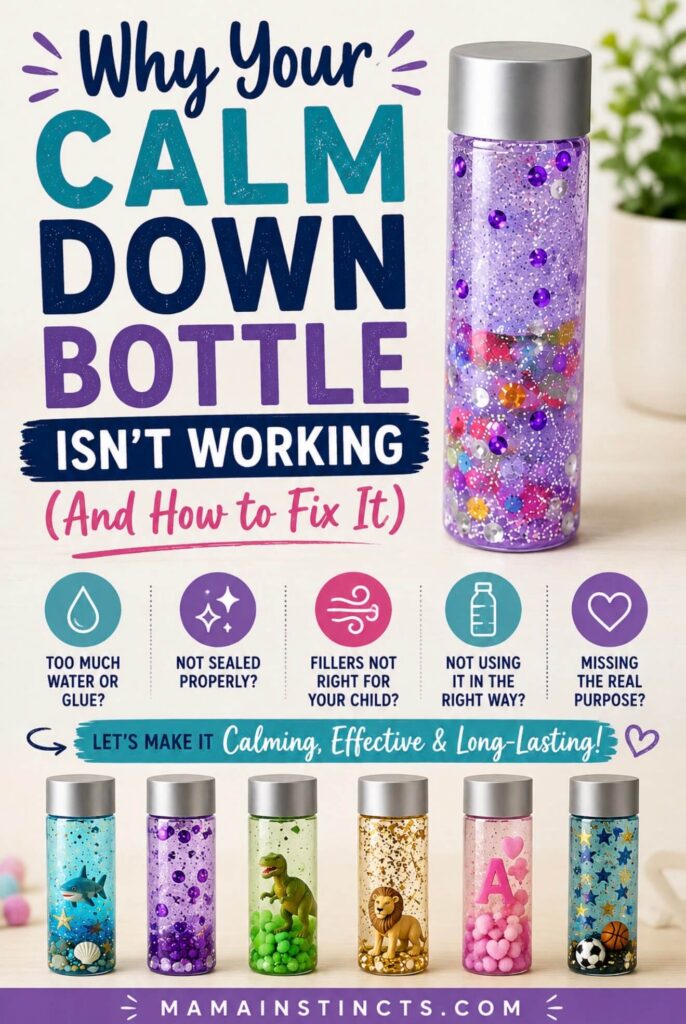
This usually happens when the liquid is not viscous enough to keep the glitter suspended, or when the glitter is too heavy. Try adding a little more soap to thicken the mixture, or swap some of your regular glitter for fine glitter or glitter glue, which tends to move more freely. Giving the bottle a really good shake before watching it also helps break up any clumps.
My bottle is too thick and the glitter barely moves.
Just add a small amount of warm water, a teaspoon at a time, until you reach the consistency you want. Shake and test between additions so you do not overshoot it. We actually like ours on the thicker side because it means the glitter takes longer to settle, but everyone has a preference.
My bottle is too thin and the glitter moves too fast.
Add more soap. A little at a time, shake and test as you go. You want the glitter to take at least 30 to 60 seconds to fully settle for it to be effective as a calming tool.
I accidentally filled 3/4 of the bottle with water instead of 3/4 cup. Can I fix it?
Yes! Pour some of the water out, then fill the rest with soap. It will take some adjusting but you can get it back to the right consistency.
Can I use a different soap?
Yes, any clear liquid soap works. Just make sure it is clear so you can see the glitter, and avoid soaps with a lot of fragrance beads or color as those can cloud the liquid.
Can I use glitter glue instead of loose glitter?
Yes! Glitter glue works beautifully and actually gives a slightly different look, more of a uniform shimmer rather than individual glitter particles. You can use it alone or in combination with loose glitter. If you are adding it alongside loose glitter, about 1 to 2 tablespoons is a good starting point. If you are using glitter glue as your only source of shimmer, bump it up to 3 to 4 tablespoons for a good amount of sparkle throughout the bottle. As always, test it before you seal the lid so you can adjust to your liking.
Can I make this in a smaller bottle for school?
Absolutely. Mini water bottles or small clear plastic bottles work great for backpacks and desks. The ratio stays the same no matter what size bottle you use: roughly one quarter of the bottle with warm water and the rest filled all the way to the top with soap. Seal it tightly and you are good to go. Just make sure to use a bottle with a secure lid since you do not want leaks in a backpack.
Will the glitter change the color of the water?
It depends on the glitter. Some glitter, particularly brightly colored or metallic types, can tint the water slightly over time. This is completely harmless and some people love the look. If you want to keep the liquid clear, stick to silver or iridescent glitter.
How long does it last?
Sealed properly with glue, these bottles can last for years. We still have bottles we made years ago that are in perfect shape. Just make sure the lid is completely sealed so nothing can leak or be opened.
Want more tools like this?
If you are here because you are looking for ways to support your child’s emotional wellbeing, I would love to have you in my community. Every week I share parenting tools, emotional regulation strategies, and real talk for the hard moments, and I have a free guide waiting for you when you subscribe: “What Your Child Needs in Hard Moments” with phrases and approaches you can use when your child is falling apart.
You can grab it free right here!
I hope you and your little ones love making these as much as we do. If you make one, tag me on Instagram at @MamaInstincts, I genuinely love seeing your versions and I share them every chance I get. 💜
Thank you for this! I made one for my granddaughter the other day after reading this post. I switched out the Soaftsoap and used All Free And Clear laundry detergent instead, because I can get it at a much lower price lol. It worked fabulously!
I’m glad you were able to find a way this works for you. I bet your granddaughter loved it!
Excited to make these with the teachers at my school. How much glitter did you find you used? I want to be sure I have enough on hand for all of our teachers. Thanks!
Sorry for the late response, hope it’s not too late.
How much glitter we use depends on my child’s mood. Haha! We usually use around 1/4 teaspoon of glitter.
Can you use glitter glue?
Yes, you can!
Think I made mine a bit thick. Add more water maybe?
We like them thick so the glitter moves slowly but if it’s too thick for you just add water.
Does this work with mini water bottles so kids can keep one in their desk at school?
Yes, it does!
Thank you so much for including the directions that can be printed!! So many sites don’t have it and it sure makes it so easy and efficient to print and make!!! I really appreciate it!!
If I’m using a 4 oz bottle, can you send the ratio of water to soap, please? Thanks!
It’s the same instructions for whatever bottle size you’re using so just follow the tutorial. 🙂
We made these this summer in my daycare. The kids
Loved them. 9 yrs old to 1 year old. It was so fun watching them play with. I bought tap lights for the older ones to set their bottles on. It was so cool.
Oh man. I just reread the instructions. I filled 3/4 of the bottle with water (instead of 3/4 cup of water). Then I filled the other 1/4 bottle with soft soap and wondered why mine wasn’t as cool as you said. Now I understand! Lol.
3/4 cup of water. The rest clear liquid/softsoap.
Now I’ve got it.
Thank you for pointing that out! I read it incorrectly also. My next one turned out much better. Thanks, for this Great idea!
I plan to use this for an activity at the senior residence where i work. One of our residents had purchased a big box full of Voss Bottles in preparation for this activity. Sadly, she passed away before they were made. In her memory we will make these calming bottles . We all need to feel
calm, regardless of our age.❤️ Thanks for the tutorial!
I made one this week. Needless to say I’m making more this weekend. It amazes me how fun they are to make. Maybe I need a couple I can play with. I used a 16.9 oz bottle. I’m going to find some 8oz or smaller size for toddler hands.
Will the glitter eventually change water color?
Yes, depending on the glitter. I have found some change the water color and some do not.
Hello! I tried this but a lot of the glitter stayed clumped at the bottom of the bottle. Any suggestions on what I should do differently?
If you want to use mineral oil and water for separation of colors, you will need oil based food coloring to dye the oil, regular water based food coloring for the water. Way cool
Will any type of clear soap work?
Yes!